
After making cat related coasters, I wanted to challenge myself by reproducing a ceramic coaster I came across on pinterest, but with crochet. After much testing and unraveling, I can finally present to you my crochet Swan coaster pattern, that can also be used as jewelry tray! So let’s crochet!
Material
- Acrylic or Cotton yarn (or this one), 1 skein 100 gr is enough , medium yarn weight
- 5 mm crochet hook
- Stainless craft wire 1,5 mm (14,5 cm long)
- Polyester fiberfill for stuffing
** The words highlighted in blue are direct links to products on Amazon.com. As an Amazon Associate, I earn from qualifying purchases. This means that when you click on links to various products on this site and make a purchase, this can result in a commission that is credited to this site. This helps support the maintenance and growth of Atelierdelilah.Com, at no additional cost to you. Thank you for your support! **
Abbreviations – Crochet swan coaster
ch : chain
sc : single crochet
inc : increase
dec : decrease
hdc : half double crochet
sl st : slip stitch
The gauge is : 5 x 5 cm = 8 stitches x 8 rows (in sc)

Crochet Swan Coaster / Tray
The Swan’s body
Start with a magic circle.
Round 1: 6 sc (6)
Round 2: 6 sc inc (12)
R3: (1 sc, sc inc) x 6 (18)
R4: (1 sc, sc inc, 1 sc) x 6 (24)
R5: (3 sc, sc inc) x 6 (30)
R6: (2 sc, sc inc, 2 sc) x 6 (36)
R7: (5 sc, sc inc) x 6 (42)
You should have an 8 cm diameter round at this point.
Now it’s time to take your craft wire, we will work the next round around it. Firstly, leave a long tip of the wire out, to later use it for the swan’s neck, as shown in the picture down below.

R8: (3 sc, sc inc, 3 sc) x 6 (48)
Twirl the rest of the wire around the tail, we left off before.


R9 to 13: 48 sc (48)
Add 1 hdc at the end of the round 13, then sl st in the next stitch. Cut the yarn and weave in the ends.
The Swan’s neck – Crochet Swan Coaster
Start with a magic circle.
Round 1: 4 sc (4)
Round 2: (1 sc, sc inc) x 2 (6)
R3: 6 sc (6)
R4: sc inc x 2, 4 sc (8)
R5: sc inc, 1 sc, sc inc, 5 sc (10)
R6: 1 sc, sc inc x 2, 1 sc, sc inc x 2, 4 sc (14)
R7 to 8: 14 sc (14)
R9: 2 sc, sc dec, 3 sc, sc dec, 5 sc (12)
R10: 1 sc, sc dec x 4, 1 sc, sc inc x 2 (10)
R11: 1 sc, sc dec x 3, 1 sc, sc inc, 1 sc (8)
R12: 1 sc, sc dec x2, 3 sc (6)
R13 to 27: 6 sc (6)
R28: (1 sc, sc inc) x 3 (9)
R29: (2 sc, sc inc) x3 (12)
R30 to 31: 12 sc (12)
Cut yarn and leave a tail for sewing. Fill the head as you go with some polyester fiber, as well as the bottom of the neck. Slid the craft wire we left from the body, inside the neck, then sew the bottom of the neck to the body.


The Wings
Please note that each row ends with a ch 1 then turn, unless it’s indicated otherwise.
Ch 16, starting from the 2nd loop from the hook:
Row 1: 14 sc, sc inc, ch 3 then turn (16)
Row 2: 15 sc, sc inc (17)
R3: 13 sc, ch 6 then turn (19 – the chain here counts as stitches)
R4: skip the 1st loop from the hook, sc inc in the 2nd loop, 1 sc in each of the 4 remaining loops, 12 sc, sc inc (20)
R5: 19 sc, sc inc (21)
R6: sc inc, 20 sc (22)
R7: 22 sc, ch 3 then turn (22)
R8: sc dec x2, 18 sc (20)
R9: 18 sc, ch 5 then turn (23 – the chain here counts as stitches)
R10: skip the 1st loop from the hook, sc inc in the 2nd loop, 1 sc in each of the 3 remaining loops, 16 sc, sc dec (22)
R11: sc dec, 20 sc, ch 4 then turn (21)
R12: sc dec, 15 sc, sc dec x2 (18)
Cut yarn and weave in the ends. Make 2 wings this way. Block the wings and make the wings stiff by using a liquid fabric stiffener. You can use other ways to stiff them up: mine was to mix clear water with some white fabric glue in a container, then soak the wings in it. With a piece of cardboard and some pins, I blocked the wings and let them dry. I used a hair dryer to speed up the process.


Once they dried up, sew them on both side of the body.
The Swan’s tail
Start with a magic circle.
Round 1: 3 sc (3)
Round 2: sc inc x 3 (6)
R3: (1 sc, sc inc) x 3 (9)
R4: sc inc, 1 sc, sc inc, 1 sc, sc inc, 4 sc (12)
R5: 12 sc (12)
Cut yarn and leave a tail for sewing. Fill the tail with some polyester fiber, then sew it on the back of the body (opposite side of the neck).

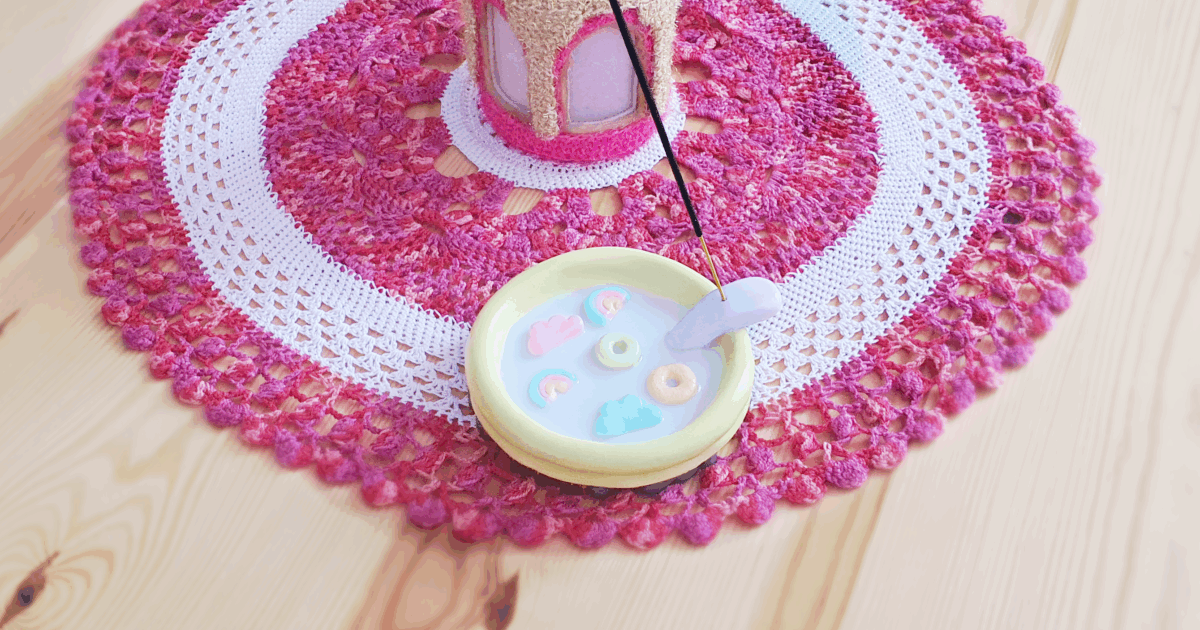
And you’re done! You made yourself a cute crochet swan coaster, that you can also use as a tray for your jewelry.


This is gorgeous! Thank you for the pattern!
Thank you very much and my pleasure 🙂
What wonderful work you do and then share what awesome person you are thanknyou
Aww thank you so much for your kind words! It made my day, thank you!
I can’t wait to try this. I don’t think I’ve ever seen anything like this before. Thank you so much for providing the pattern to put on my wish list!
You’re welcome, hope you have fun crocheting this! 🌸🌷
Don’t quite know how I came upon this, but I feel very fortunate for having done so. Thank you so much for offering up this delightful pattern. Looking forward to seeing her on my table.