

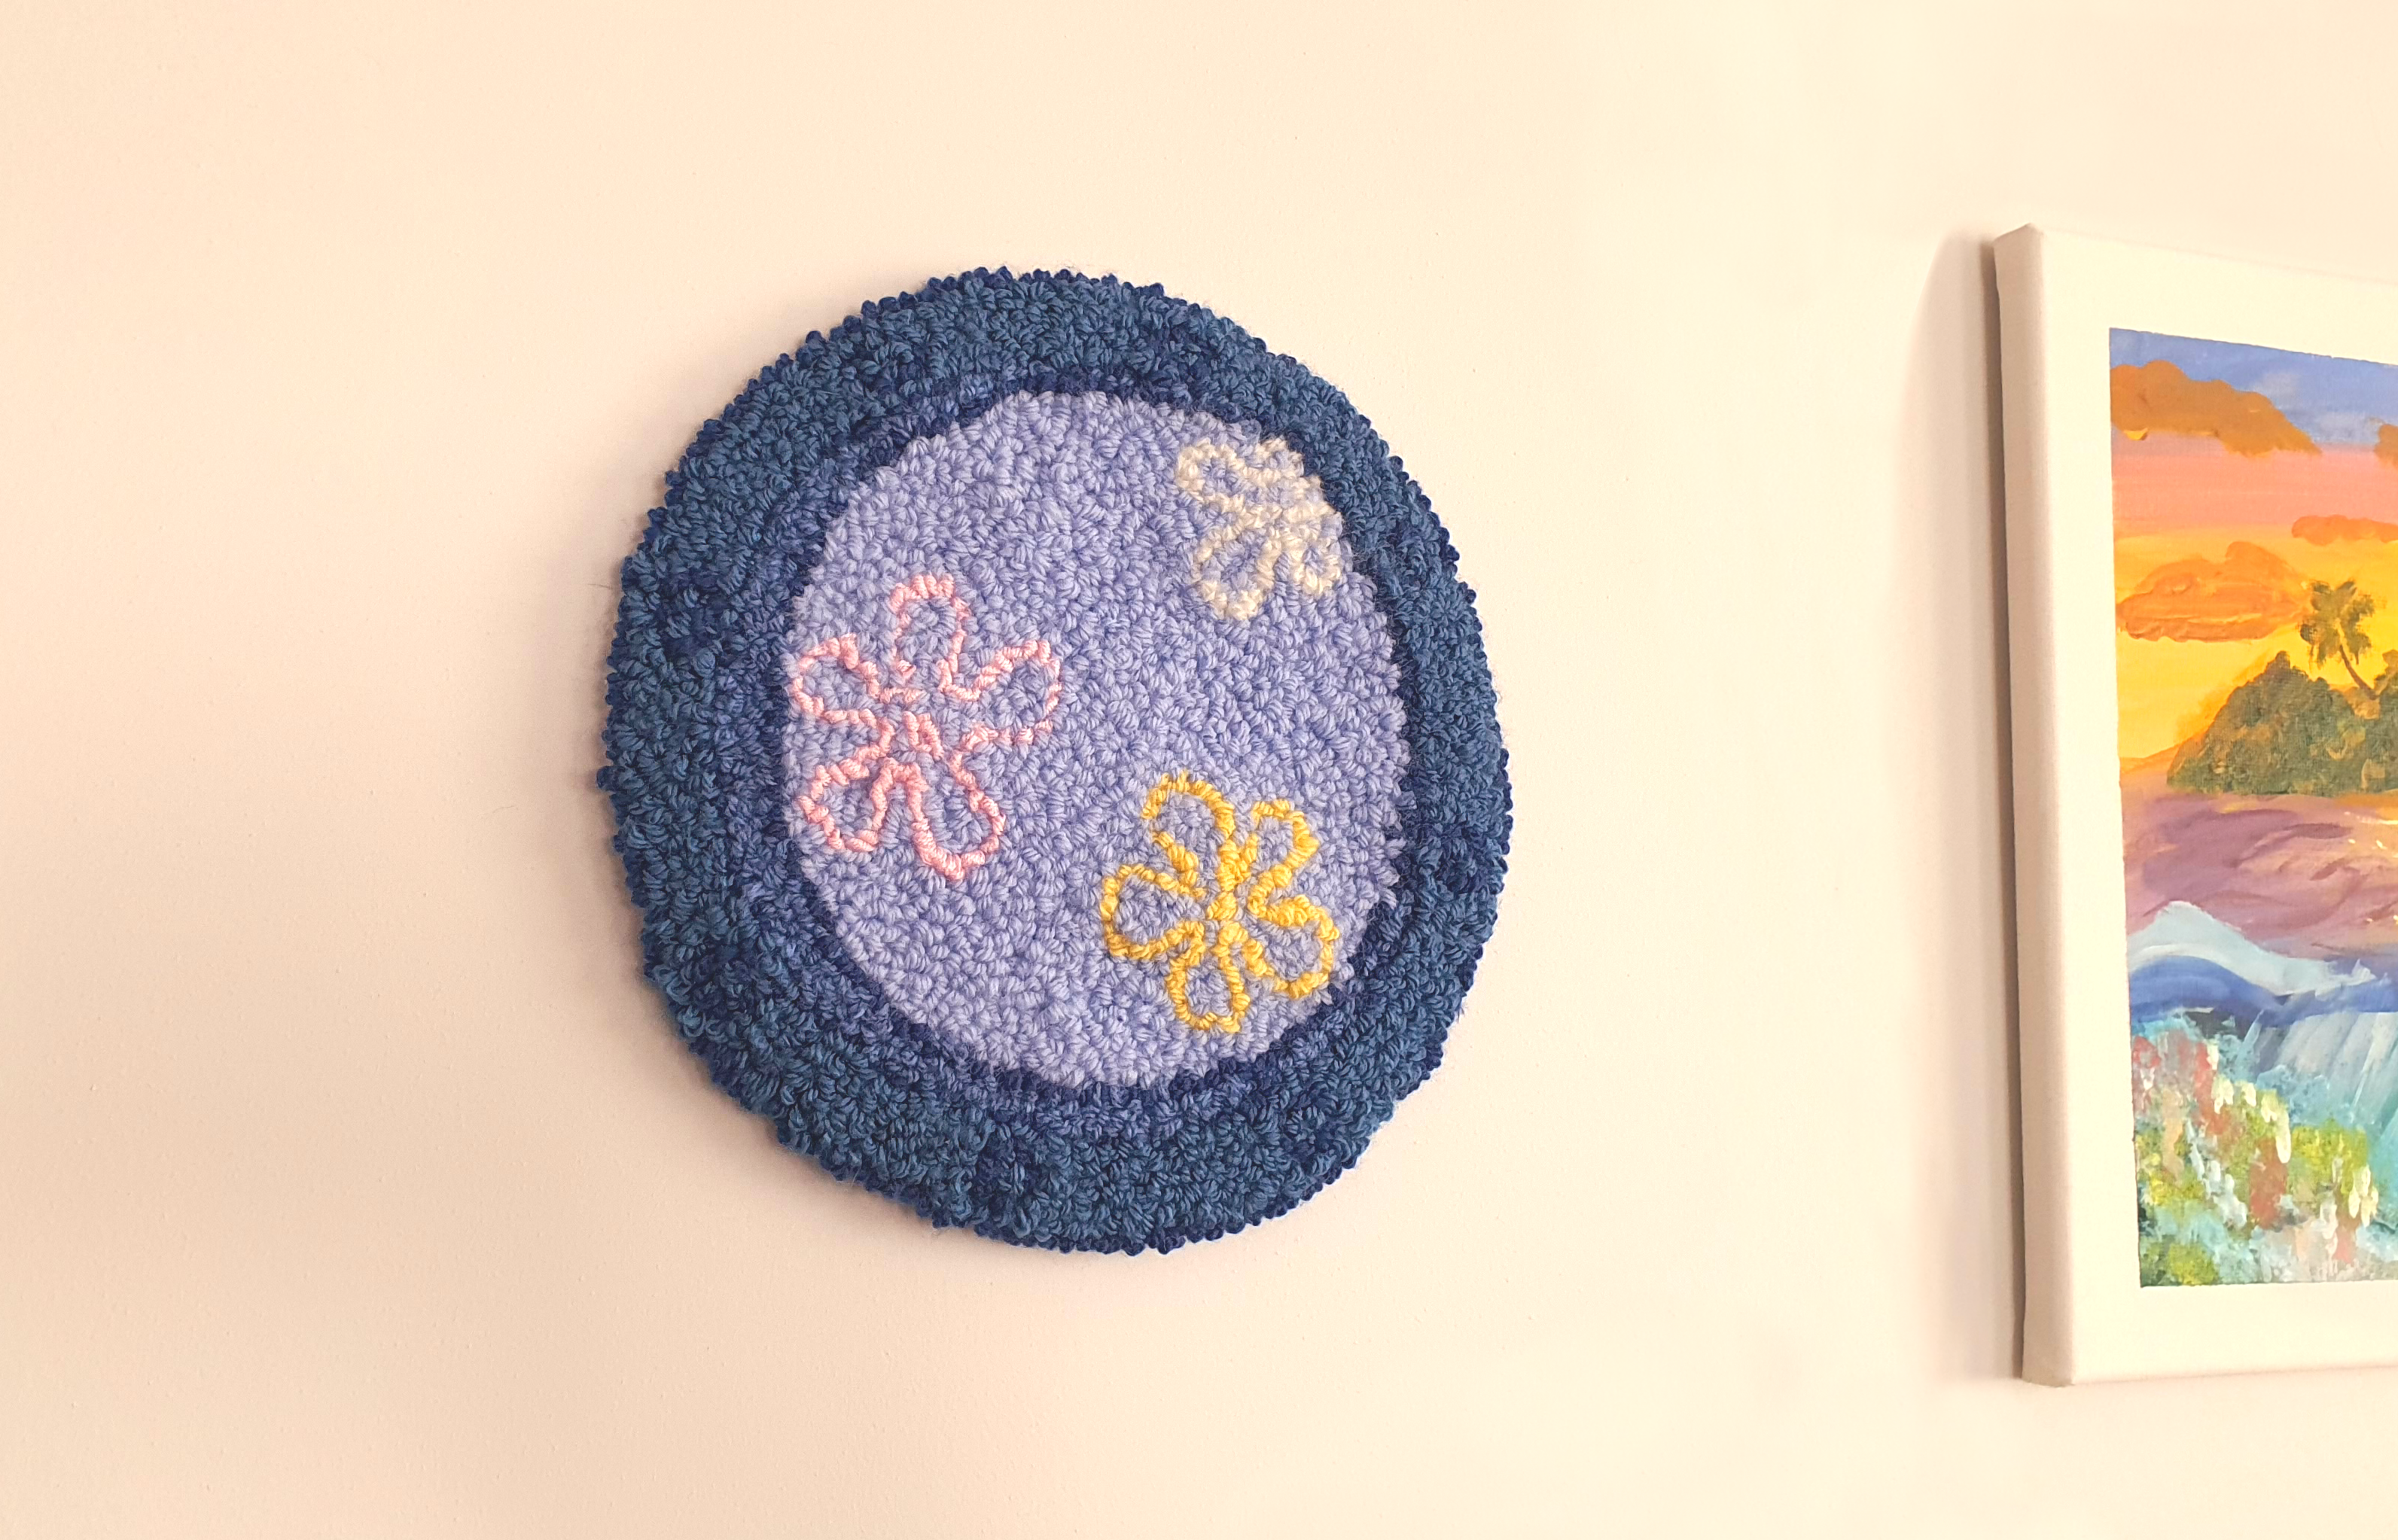
Ever looked at a blank wall and thought, “You deserve better”? Same. This crochet wall hanging pattern is the perfect way to elevate your space. Inspired by Arabesque lattice designs found in Moorish architecture, this pattern transforms simple stitches into something strikingly ornamental. It looks intricate, but trust me, if you can count and double crochet, you’re already halfway there. This free crochet home decor pattern is where boho meets old-world charm, it’s beginner-friendly, and designed to make your hook feel like it’s weaving architectural poetry.
So grab your hook, pick your prettiest yarn shades, and let’s turn some ambiance into a stunning crochet wall hanging your walls will thank you for.

What You’ll Need
Abbreviations
ch: chain
sl st: slip stitch
sc: single crochet
dc: double crochet
esc: extended single crochet
inc: increase
dec: decrease
R: round / row
Notes
Each crochet arabesque lattice motif measures approximately 19 cm wide by 22 cm long. The finished wall hanging comes out to about 58 cm wide by 66 cm long, without the tassels. Add those tassels, and you’re looking at a total length of 80 cm.
The gauge for the yarn is: 10 x 10 cm = 17 dc x 8 rows.
We’ll finish off the edges using the extended single crochet stitch. Not sure what that is? No worries, I’ve linked a quick and easy video tutorial to walk you through it.
Video Tutorial
Crochet Wall Hanging Pattern
Chain 20. Starting from the hook, count the first two chains as the final double crochet of Round 1, and the 3rd chain as the stitch where you’ll place the last double crochets of the round. Begin Round 1 by working into the 4th chain from the hook.
Round 1: 16 dc, (7 dc in the last loop of the foundation chain), continue working on the other side of the chain: 16 dc, (6 dc in the last loop – which is the 3rd loop we left unworked earlier), sl st in the 1st dc of the round. This slip stitch create an additional loop on top of the beginning ch2 which turn it into a complete double crochet. (46)


Round 2: Ch2 (which is our last dc of the round), 1 dc in the same stitch, 16 dc, dc inc x5, 18 dc, dc inc x 5, sl st in the 1st dc of the round. (56)
R3: Ch2 and in the same stitch: 1 dc, 16 dc, {(1 dc, dc inc) x 5}, 18 dc, {(1 dc, dc inc) x 5}, sl st in the 1st dc of the round. (66)
We will now work in rows.
Row 4: 1 sl st, ch3 (count as a dc), next stitch: 15 dc (16)
Row 5: Ch3 (count as a dc), 15 dc (16)
R6: 3 sl st, 1 sc, 1 dc, dc inc, 4 dc, dc inc, 1 dc, 1 sc, 3 sl st (16)
R7: 5 sl st, 1 sc, 6 dc, 1 sc, 5 sl st (16)
Cut the yarn and fasten off.
R8: Join the yarn back to the 1st dc of previous row, with a sc then continue working the row as follow: 1 dc, dc dec, 1 dc, 1 sc (5)

R9: ch1 then turn, skip the first stitch, 1 sl st, Ch2, dc dec, 1 sl st (3)
Cut the yarn, fasten off and weave in all ends.


You Might Also Like!
If you’re into Arabic-inspired decor, you’ll love my Arabic Lantern project: it’s a stunning piece that adds warmth and a touch of tradition to any space.

The other side of the lattice design – Crochet Boho Wall Hanging
To create the second side of the crochet boho wall hanging, start from the last stitch you made in Row 4. Count 17 stitches across, then rejoin your yarn in the 18th stitch, either with a double crochet or a ch 3 (your choice), just like in the photo below.

Now repeat row 4 to 9 again to complete the arabesque lattice design.

The edges – Crochet Wall Hanging Pattern
Join the gold yarn (on the right side of the arabesque design) with an extended single crochet (esc) into the 2nd double crochet of the 4th dc increase from Round 3. Then, work extended single crochets around the edges to finish off your crochet arabesque design.

In the YouTube video tutorial, I walk you through some key details around the edging. You can also refer to the picture below: I’ve highlighted the key points to make it easier to visualize. Once you’ve finished the border, go ahead and cut the yarn, then weave in all the ends. Repeat this process to make nine arabesque lattice motifs.


Join The Motifs Together – Crochet Home Decor
Now that your nine crochet arabesque motifs are ready, it’s time to assemble them into your finished crochet wall hanging. Use the photo below as a guide, sewing the motifs together by joining front loops with front loops on the front side, and back loops with back loops on the back side.


Once you’ve joined all the motifs, finish it off with three tassels at the bottom and mount your masterpiece on a wooden dowel. And voilà, just hang it up and enjoy your stunning Moorish-inspired crochet home decor.
Block It Like You Mean It
Want your wall hanging to look crisp, clean, and straight-outta-Pinterest perfect? Don’t skip the blocking step. Trust me, it makes all the difference.
Lay your crochet motifs flat, pin them into shape, and give them a gentle steam block. For best results, place a clean cloth or towel on top of the motifs and lightly press with an iron—never directly on the yarn, unless you’re into melted art (spoiler: you’re not). This helps flatten the motifs evenly and gives your final piece that polished, professional look.
Because floppy corners? We don’t know them.

And just like that, you’ve stitched your way to a stunning piece that feels straight out of Arabian Nights, and yes, totally brag-worthy.
If you loved making this crochet wall hanging pattern, don’t ghost me!
- Tag me in your photos so I can cheer you on!
- Pin this pattern (on pinterest) to come back to later (or share with a fellow crocheter friend).
- Need more cozy inspiration? Browse the website, your next project is probably already waiting for you.
Now go hang that beauty up and enjoy all the “Wait, you made that?!” compliments. You’ve earned them.


0