

After a long break, I’m finally back with a crochet home decor pattern that I actually finished almost two months ago: The Crochet Fish Bowl Pattern. Life got busy (very busy), so I didn’t get the chance to share it until now; but today’s the day!
The idea for this crochet design came after I was contacted by a brand that wanted to collaborate with me to promote one of their crochet kits. In the end, the collaboration didn’t happen… but that didn’t stop me. I was determined to bring this idea to life no matter what, and that’s how this Crochet Fish Tank Pattern was born.
I wanted to recreate the classic fish bowl style you often see in cartoons, because I find it super cute and perfectly in line with my universe and creative style. The pattern is a bit long, but I promise that if you stick with it until the end, you’ll end up with the cutest fish bowl ever, one that might even make your friends a little jealous.
So… what are we waiting for? Let’s get started!

Materials Needed
Abbreviations – Crochet Aquarium Pattern
ch : chain
sl st: slip stitch
sc: single crochet
hdc: half double crochet
dc: double crochet
inc: increase
dec: decrease
R: round, row
Notes
Gauge for the main yarn: 10 x 10 cm = 19 sc x 23 rows.
The finished Crochet Fish Bowl measures 14 cm wide for 12,5 cm tall.
Crochet Fish Bowl Pattern
Main Body
Front of the Bowl
Using the 4 mm hook and blue yarn, chain 54. Slip stitch into the first chain to form a ring, you should have a total of 55 loops.
Starting the very first loop (the one where you slip stitched – work in the back loops of the chain):
Round 1: (4 sc, sc inc) x 11 (66)
Round 2: 15 hdc, hdc inc x 2, 17 hdc, hdc dec, hdc inc, 7 hdc, hdc inc, hdc dec, 17 hdc, hdc inc x 2 (70)
Cut the yarn and weave in the ends. Make two front panels the same way.

Cut a piece of clear vinyl sheet to fit the center of the fish bowl’s front, it should not extend beyond the second round of the panel. Sew the vinyl to the inside of one front panel using invisible thread.
Next, cut a piece of plastic canvas (or craft wire if you prefer something thinner) in the same shape as this template (print it on a A4 paper). I personally 3D-printed this part (the gcode is available on my gumroad link if you want to 3D print it too), but don’t worry: plastic canvas, sturdy cardboard, balsa wood, or even wire will do the job just fine. Basically, use whatever you have on hand that helps the fish bowl keep its shape and stand nicely on its own.
Slide the insert between the two panels (add a little glue if it helps keep everything from shifting around), with the vinyl window facing inside. Sew all the way around to close everything up and keep the insert inside. Don’t forget to sew along the inner edge too (see picture 4 below), slipping your needle through the inner stitches and the clear vinyl at the same time (I recommend using invisible thread for this part). This helps everything stay in place and keeps the bowl nice and sturdy.
Your crochet fish bowl front is now ready!


Before moving on, split the stitches like this: 17 stitches across the top of the fish bowl, and 53 stitches around the sides and bottom.

Back Panel Of The Bowl
Chain 12, starting the 2nd loop from the hook (we’ll be working in rows, not rounds):
Row 1: sc inc x 2, 7 sc, sc inc x 2 (15)
Row 2: 1 sc, sc inc, 11 sc, sc inc, 1 sc (17)
R3: 17 sc (17)
R4: 3 sc, sc inc, 9 sc, sc inc, 3 sc (19)
R5: 1 sc, sc inc, 15 sc, sc inc, 1 sc (21)
R6: sc inc, 19 sc, sc inc (23)
R7 to 9: 23 sc (23)
R10: 1 sc, sc inc, 19 sc, sc inc, 1 sc (25)
R11 to 15: 25 sc (25)
R16: sc dec, 21 sc, sc dec (23)
R17 to 19: 23 sc (23)
R20: sc dec, 19 sc, sc dec (21)
R21: sc dec, 17 sc, sc dec (19)
R22: sc dec, 15 sc, sc dec (17)
R23: sc dec, 13 sc, sc dec (15)
Now we will work the edge of the panel this way: ch 1, then on the first (left) side: 21 sc, bottom of the panel: 11 sc, on the other side: 21 sc, ch 1 then invisible join in the 1st stitch of the 23rd row. Counting both ch1 stitches, the one at the start and the one at the end, you should have 70 stitches in total.
Cut the yarn and weave in the ends. Make a second panel the same way. Cut a piece of plastic canvas to match the shape (or 3D-print it using the G-code included in the template file), slide it between the two panels, then sew everything together.


Once the panels are sewn together, split the stitches the same way as you did for the front: 17 stitches on top and 53 stitches around. Your fish bowl back is now done, nice and sturdy!

The Bowl Contour
Chain 8, then starting the 2nd loop from the hook:
Row 1 to 65: 7 sc (7)
Now we’ll work around the edges.
Each row you made counts as one stitch, since there are 65 rows, each side (left and right) will have 65 stitches.
Work the edge as follows:
Left side edge:
Bottom edge (along the other side of the beginning chain 8):
Right side edge:
Top edge:
Finish the round with an invisible join into the first sc.
The finished piece should measure around 4.7 cm wide and 32 cm long.


By working the edges this way, you’ll end up with 53 stitches on each side, making it easier to attach the piece to the front and back panels.
Now take this piece and the back panel of the fish bowl you made earlier. Starting at the first stitch of the 53 stitches you marked, sew one side of the contour onto the back panel of the crochet fish bowl. You should end right at the last of those 53 stitches, lining up with the last stitch along the contour’s side edge.


Top Of The Crochet Fish Bowl Pattern
Chain 51, sl st in the 1st loop of the chain making it a total of 52 loops. Starting the very first loop (where we made our slip stitch):
Round 1: (3 sc, sc inc) x 13 (65)
Round 2: (4 sc, sc inc) x 13 (78)
R3: (5 sc, sc inc) x 13 (91)
R4: (5 sc, sc dec) x 13 (78)
R5: (4 sc, sc dec) x 13 (63)
R6: (3 sc, sc dec) x 13 (52)
Cut the yarn and leave a long tail for sewing.

Now we will sew the front loops of Round 1 to the front loops of the last round, pulling the piece inward to turn it into a clean, rounded ring like shown in the last photo below. Insert some polyester fiberfill inside the ring as you go, adding just enough to make it nicely padded and hold its shape.


Cut the yarn and weave in the ends when you’re done.
The Sand – Crochet Home Decor Pattern
Grab your 4 mm crochet hook and the yellow yarn, then chain 11. Starting the 2nd loop from the hook: {work the round in amigurumi style (no joining rounds)}
Round 1: 9 sc, (4 sc in the last stitch), continue working on the other side of the chain: 8 sc, (3 sc in the last stitch) (24)
Round 2: (3 sc in the first stitch), 8 sc, (3 sc in the next stitch), 2 sc, (3 sc in the next stitch), 8 sc, (3 sc in the next stitch), 2 sc (32)
R3: 1 sc, (3 sc in the first stitch), 10 sc, (3 sc in the next stitch), 4 sc, (3 sc in the next stitch), 10 sc, (3 sc in the next stitch), 3 sc (40)
R4: 2 sc, sc inc, 12 sc, sc inc, 6 sc, sc inc, 12 sc, sc inc, 4 sc (44)
R5: sc inc, 19 sc, sc inc, 1 sc, sc inc, 19 sc, sc inc, 1 sc (48)
R6: 48 sc (48)
Cut the yarn and weave in the ends. Using invisible thread, sew the sand piece onto the bottom of the fish bowl (the back panel and contour are already sewn together), following the photos below. Before closing it completely, tuck a bit of polyester fiberfill underneath to give the sand a nice, puffy look.


The Algae
Take the green yarn and the 3 mm crochet hook, then ch 12. Starting the 2nd loop from the hook:
Row 1: 2 sl st, 1 sc, 2 dc, 2 sl st, 1 hdc, 1 dc, 1 sl st, (sl st, ch1, sl st) in the next stitch, 1 sl st, 1 hdc, 1 dc, 2 sl st, 1 sc, 2 hdc , 1 sc, 1 sl st (22)
Cut the yarn, leaving a tail for sewing. Make three algae pieces the same way, then sew them to the sand on one side.


The Starfish
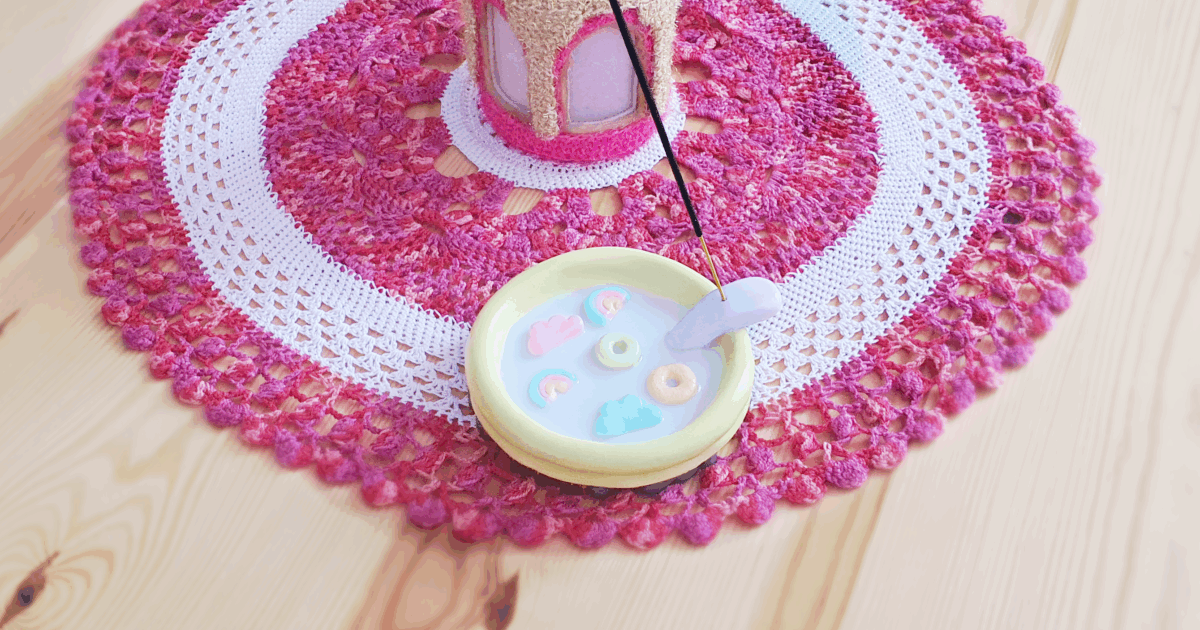
To make the starfish, grab the lace cotton thread and a 2 mm crochet hook. Follow the starfish pattern from my Beach Crochet Coaster. Make two stars, sew them together, and add a bit of polyester fiberfill between the layers to give it a nice, puffy shape.


Sew the starfish onto the other side of the sand.

Time to finish the bowl!
Now it’s time to sew the rest of the bowl together. Grab the front panel you made at the beginning and, just like with the back panel, sew it onto the bowl contour: starting at the first of the 53 stitches and ending at the last one.

Once the front is fully sewn on, move on to the top of the bowl. Sew all the way around the opening to attach the top ring. A curved needle works best here and makes things much easier. Take your time and gently ease the ring into place so it fits neatly and evenly around the top.


The Fish
The Body
Pick the yellow and orange cotton yarns and the 3 mm crochet hook and make a magic circle. Start with the yellow yarn (end each round with a slip stitch into the first stitch.):
Round 1: 4 sc (4)
Round 2: (1 sc, sc inc) x 2 (6)
R3: sc inc x 6 (12)
R4: (1 sc, sc inc) x 6 (18)
Change color to orange.
R5: (2 sc, sc inc) x 6 (24)
Change color back to yellow.
R6: 24 sc (24)
Change color to orange.
R7: 24 sc (24)
Change color back to yellow.
R8: 24 sc (24)
R9: 10 sc, sc inc, 1 sc, sc inc, 1 sc, sc inc, 9 sc (27)
Cut the yarn and fasten off. Fold the body in half, lining up the top stitches with the stitches underneath. Then single crochet through both loops at the same time to close the body (skip the first stitch). You should have a total of 13 stitches.
Fish’s Tail
Grab the orange yarn, and pick the body, skip the first 5 stitches and then join the yarn in the 6th one.
Row 1: (ch3, 3 dc) in the first stitch, (1 dc, 1 hdc) in the next stitch, (1 dc, 1 hdc) in the next stitch, (3 dc, ch3) in the next stitch.
Cut the yarn and weave in the ends.

The Fins
Again with the orange yarn, make a magic circle.
Row 1: Ch3, 3 dc, ch3, sl st
Cut the yarn, leaving a tail for sewing. Make two fins the same way, then sew one onto each side of the fish.


Finish Your Crochet Fish Tank
To place the fish inside the bowl, I used a simple trick to make it look like it’s floating. Start by cutting a thin wooden skewer (or stick) to fit the width of the bowl opening. Slide each end of the stick between the stitches of the top ring, so it sits securely in place. I recommend painting it blue so it blends in nicely.
Next, thread invisible thread through the top of the fish and tie it around the stick. The stick stays in place and becomes part of the structure, holding the fish at the right height, while the invisible thread makes it look like the fish is swimming inside the bowl.


And just like that, we’ve reached the end of this very long pattern: but as they say, the result is absolutely worth it. If you’ve made it this far, take a second to admire your work. This crochet fish bowl didn’t come together by accident: it took time, patience, and a lot of stitches, and you should be genuinely proud of what you’ve created!

I hope this project brought you as much joy to make as it did for me to design. If you enjoyed it, don’t stop here: there are plenty more crochet patterns, tutorials, and creative ideas waiting for you around the site, so feel free to explore, bookmark this page for later, or save it for your next cozy crochet session.
I’d love to see your finished fish bowls, hear what you thought about the pattern, or know if you added your own twist: so drop a comment below and share your feedback! You can also follow me on social media (Instagram, Pinterest, Tiktok, Youtube) to stay up to date with new designs, behind-the-scenes moments, and upcoming projects. And if you think someone else would enjoy following this little crochet aquarium pattern, don’t hesitate to share the pattern with them.
Thank you for crocheting along with me, and until the next project, happy stitching!


For the fishbowl top (the ring), in R2 it says in total i should have 130 stitches but i only got 65…. I dont know if i did something wrong or if the pattern is wrong, but in no way with 3 sc and one inc, i should get 130 sts in total after a base chain of 52..
Hello, thank you so much for pointing this out, I really appreciate it. I was in the middle of moving when I was writing this pattern, and since it took several weeks to complete, I didn’t have every detail fully memorized. I honestly don’t know how I made this mistake: I wrote 26 times instead of 13, and the stitch counts inside the parentheses were incorrect.
That said, the stitch sequence itself (3, inc), (4, inc), etc. was correct. I’ve now fixed the error and updated the pattern. Could you please let me know if you’re seeing the corrected version on my website?
Thank you again for your very helpful feedback!