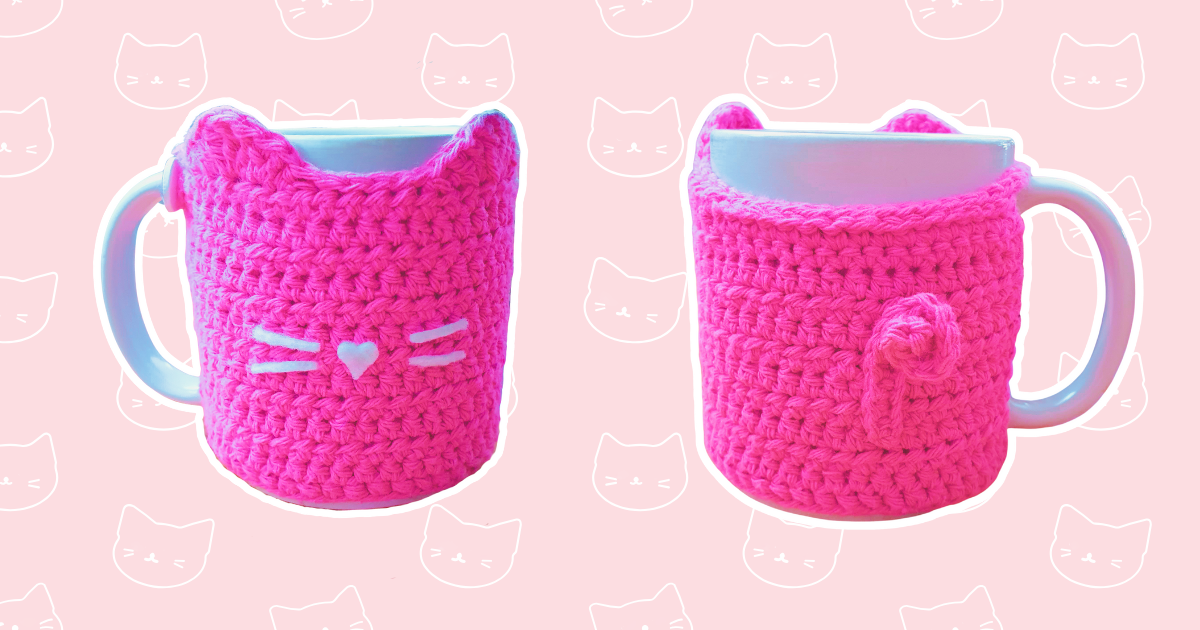
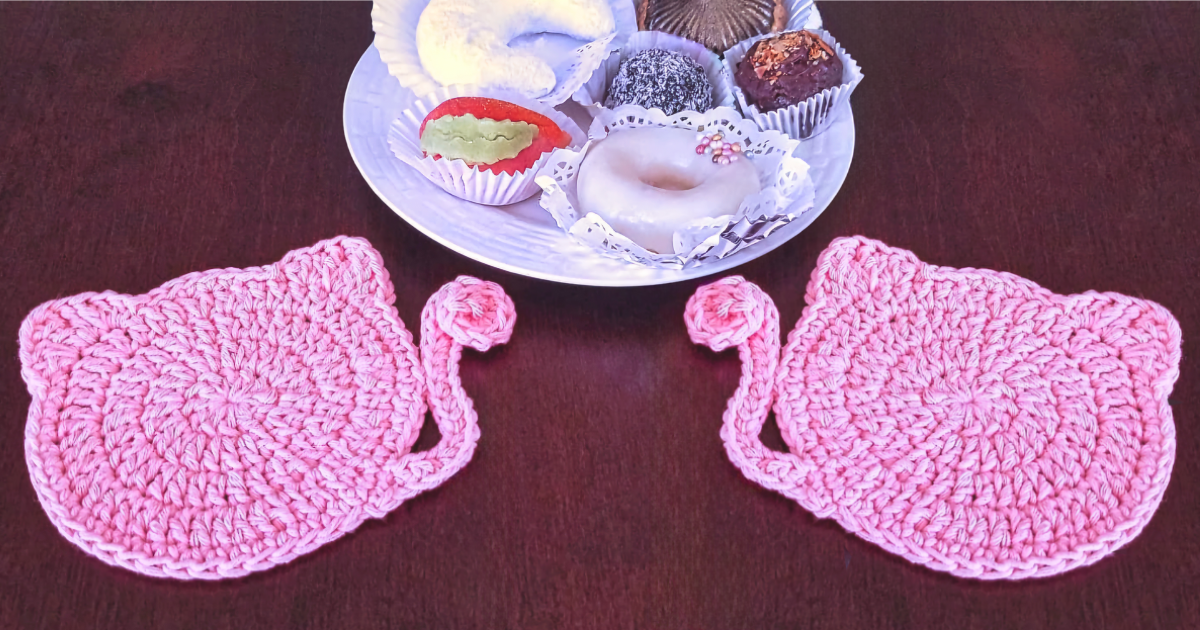
So, I made a little crochet trinket dish. But not just any dish, this one has cat ears… and a cute little tail! Because if I’m going to toss my rings, stitch markers, or rogue hair ties somewhere, it better be into something that sparks joy and purrs in spirit.
This project is fast, beginner-friendly, and seriously satisfying. It’s one of those makes that feels like play but ends up being genuinely useful. Bonus: it’s the kind of gift that says “I made this with love”. Perfect for cat people, cute stuff enthusiasts, or just anyone who deserves something handmade and adorable. So grab your hook and let’s turn that yarn into the cutest little feline dish your home decor has ever seen.

Material – Cat Trinket Dish Crochet Pattern
Abbreviations
ch: chain
sl st: slip stitch
sc: single crochet
inc: increase
R: round
Notes – Crochet Trinket Dish Pattern
Every parts of the crochet trinket dish is crocheted in the amigurumi technique so you don’t join rounds with a slip stitch at the end, you keep working the next round without joining.
The finished cat crochet ring dish measures 11 cm of diameter.
The gauge for the yarn is: 5 cm x 5 cm = 9 sc x 10 rows
Cat Crochet Trinket Dish Free Pattern
Make a magic circle.
Round 1: 6 sc (6)
Round 2: sc inc x 6 (12)
R3: (1 sc, sc inc) x 6 (18)
R4: (2 sc, sc inc) x 6 (24)
R5: (3 sc, sc inc) x 6 (30)
R6: (4 sc, sc inc) x 6 (36)
R7: (5 sc, sc inc) x 6 (42)
R8: (6 sc, sc inc) x 6 (48)
R9: (7 sc, sc inc) x 6 (54)
R10: (8 sc, sc inc) x 6 (60)
The base circle now measures 11 cm in diameter. Keep the pretty (right) side of your circle on the inside, that’s what will show inside the crochet ring dish.
R11 to 13: 60 sc (60)
R14: 56 sc, 4 sl st (60)
Cut the yarn and weave in the ends.

The Cat’s Ears – Crochet Trinket Dish Pattern
Make a magic circle.
Round 1: 6 sc (6)
Round 2: (2 sc, sc inc) x 2 (8)
R3: (3 sc, sc inc) x 2 (10)
R4: (3 sc, sc inc, sc inc) x 2 (14)
R5: (6 sc, sc inc) x 2 (16)
R6: (7 sc, sc inc) x 2 (18)
R7 to 8: 18 sc (18)
Cut the yarn and leave a tail for sewing. Use the yarn tail to sew the bottom of the ear closed, side to side. Make two ears in total for this crochet trinket dish pattern.


Sew both ears onto the crochet trinket dish by attaching the front loops of the front side of each ear to the front loops on the dish, and the back loops of the ears to the back loops on the dish, as shown in the photos below. Leave a gap of 6 stitches between the ears.


The Cat’s Tail – Cat Trinket Dish Crochet Pattern
Make a magic circle.
Round 1: 5 sc (5)
Round 2: sc inc, 1 sc, sc inc, 1 sc, sc inc (8)
R3 to 13: 8 sc (8)
Cut the yarn and leave a tail for sewing. Cut a piece of craft wire and slip it inside the tail, this will help it stand up nice and firm. Add a bit of stuffing to make it soft and squishy (because obviously).
Once it’s filled, sew the bottom of the tail shut by joining both sides together. Now all that’s left is to attach it to the crochet trinket dish, directly opposite the ears.
Line it up neatly between them at the back, and sew it in place as shown in the photo below. Voilà, your cat has a tail!


There you have it; a tiny cat trinket dish you didn’t know you needed until now.
It’s pink, it’s adorable, and it makes your desk instantly 83% cuter.


If you end up making one (or three), tag me @atelier_delilah or @delilahcrochet on Instagram so I can scream over the cuteness of your creations in the comments like a proud yarn auntie.
And if this pattern gave you that little serotonin boost you needed today, stick around, I’ve got more cozy chaos and kawaii crafts waiting for you. Don’t forget to bookmark the website so you don’t miss a thing – wink wink.
































0