Let’s be honest, when I say “crochet summer projects,” your mind probably jumps to sun hats, mesh totes, or maybe a breezy top. But what if I told you that your next favorite crochet project make fits in the palm of your hand and brings beachy vibes wherever it goes? Here comes: the Crochet Surfboard Bag Charm Pattern.
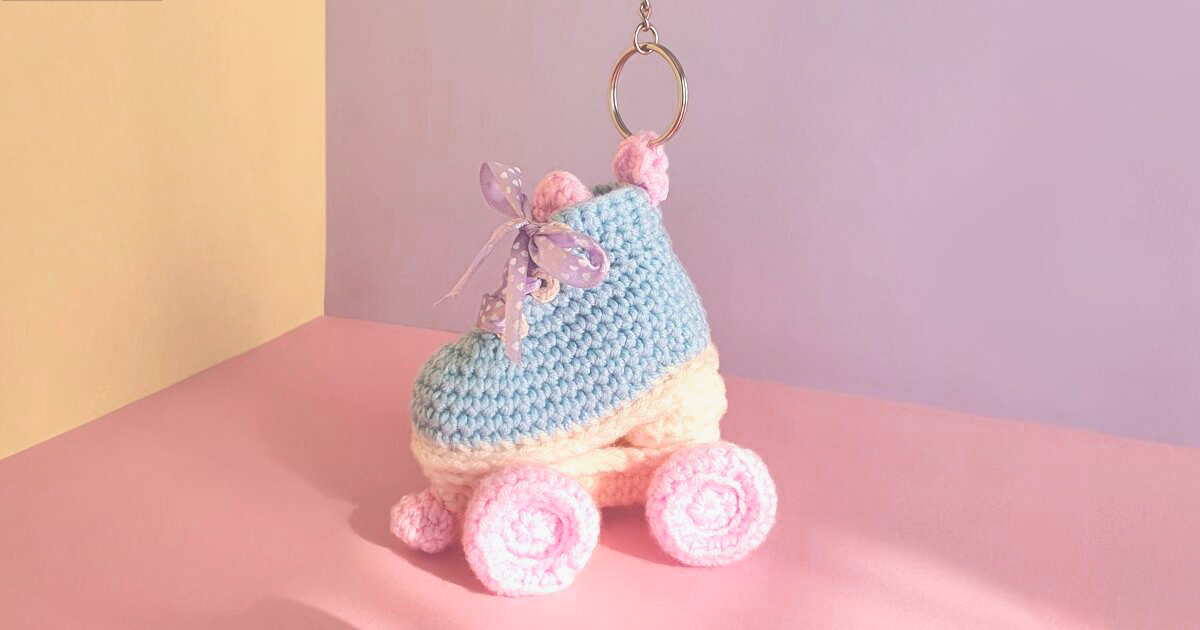
This pattern was heavily inspired by my Roller Skate Keychain pattern, I wanted to create something that evokes the beach and summer, and brings that little spark of joy you feel just by looking at it. A charm you can hang on your bag to carry a piece of summer with you, wherever you go.
As someone who’s always been captivated by the world of surfing (even if I’ve never actually stepped on a board!), designing a crochet surfboard felt like the most natural thing. I chose colors that remind me of sunshine, tropical islands, and that retro 80’s beachy vibe.
I hope this bag charm, that you can totally you turn it into a crochet surfboard keychain, brings you as much joy and escapism as it brought me while designing it.
Ready to ride the yarn wave? Let’s go!

Materials Needed – Crochet Surfboard Pattern
Abbreviations
ch: chain
sl st: slip stitch
sc: single crochet
hdc: half double crochet
dc: double crochet
inc: increase
dec: decrease
R: row / round
Notes – Crochet Summer Projects
The finished crochet surfboard measures approximately 15,5 cm in length and 5,8 cm in width.
The gauge for the yarn is 5 x 5 cm = 12 sc x 13 rows.
Each row ends with a ch1 then turn.
To create the crochet surfboard panels, follow the pattern below along with the downloadable color chart for the color changes, that you can download here: Surfboard Color Chart. For the yellow sections, you’ve got two options: either crochet the panel using just the pink and blue yarns and add the yellow details later with cross stitches, or work all the colors directly by changing yarns as you go, it’s totally up to you!
Note that to give your crochet surfboard keychain structure, insert a piece of plastic canvas or cardboard cut to the same shape as your panels. I personally 3D printed a custom insert for mine, but any sturdy material will do the trick.
Crochet Surfboard Bag Charm Pattern
Chain 5, then starting the 2nd loop from the hook:
Row 1: 4 sc (4)
Row 2: 1 sc, sc inc x 2, 1 sc
R3 to 4: 6 sc (6)
R5: 1 sc, sc inc, 2 sc, sc inc, 1 sc (8)
R6: 1 sc, sc inc, 4 sc, sc inc, 1 sc (10)
R7 to 11: 10 sc (10)
R12: 1 sc, sc inc, 6 sc, sc inc, 1 sc (12)
R13 to 25: 12 sc (12)
R26: 1 sc, sc dec, 6 sc, sc dec, 1 sc (10)
R27 to 30: 10 sc (10)
R31: 1 sc, sc dec, 4 sc, sc dec, 1 sc (8)
R32: 8 sc (8)
R33: 1 sc, sc dec, 2 sc, sc dec, 1 sc (6)
R34 to 35: 6 sc (6)
R36: 1 sc, sc dec x 2, 1 sc (4)
R37: sc dec x 2 (2)
R38: sc dec (1)
Cut the yarn and weave in all ends.
Make two panels this way:one for the front, one for the back.
Next, place the two panels back to back, wrong sides facing each other.
Using mint-colored yarn, join the yarn with a single crochet in the bottom left corner of the surfboard (as shown in the photo below).


Begin edging the piece by working through both panels at the same time to join them together. Follow this sequence:

Continue down the other side with 1 sc in each stitch.
Don’t forget to insert the plastic canvas or cardboard inside to give the surfboard structure before working this side.

Finish with a single crochet in the very first stitch where you began the join.
Cut the yarn and weave in all remaining ends.

Make A Hanger Cord – Crochet Surfboard Keychain Pattern
With your mint-colored yarn, crochet a chainless foundation until it measures approximately 24 cm. Once you reach the desired length, cut the yarn and fasten off. Sew the cord to the crochet surfboard bag charm.


The Back Fins
With the mint yarn, make a magic circle.
Round 1: 1 hdc, 1 dc, 2 tr (4)
Cut the yarn and pull the magic ring tight to close. Make three fins like this, then sew them onto the back panel of your crochet surfboard.


Your crochet surfboard bag charm is now ready to clip onto your tote and follow you wherever the summer takes you! It’s a quick and easy project, perfect even for beginners, so don’t hesitate to share this article and spread some summer vibes around. It also makes a cute gift for any surf lover (or really anyone who appreciates a fun handmade surprise).

If you enjoyed this pattern, don’t be shy, leave me a comment below! I love reading your messages, and they truly motivate me to keep creating things that bring you joy.
You can also follow me on Instagram, Pinterest, TikTok, or YouTube for more free crochet patterns. And if you make one of my patterns, tag me in your photos, I always drop a little comment and some love!
That’s it for now, see you in the next post. Until then, happy crocheting!































0