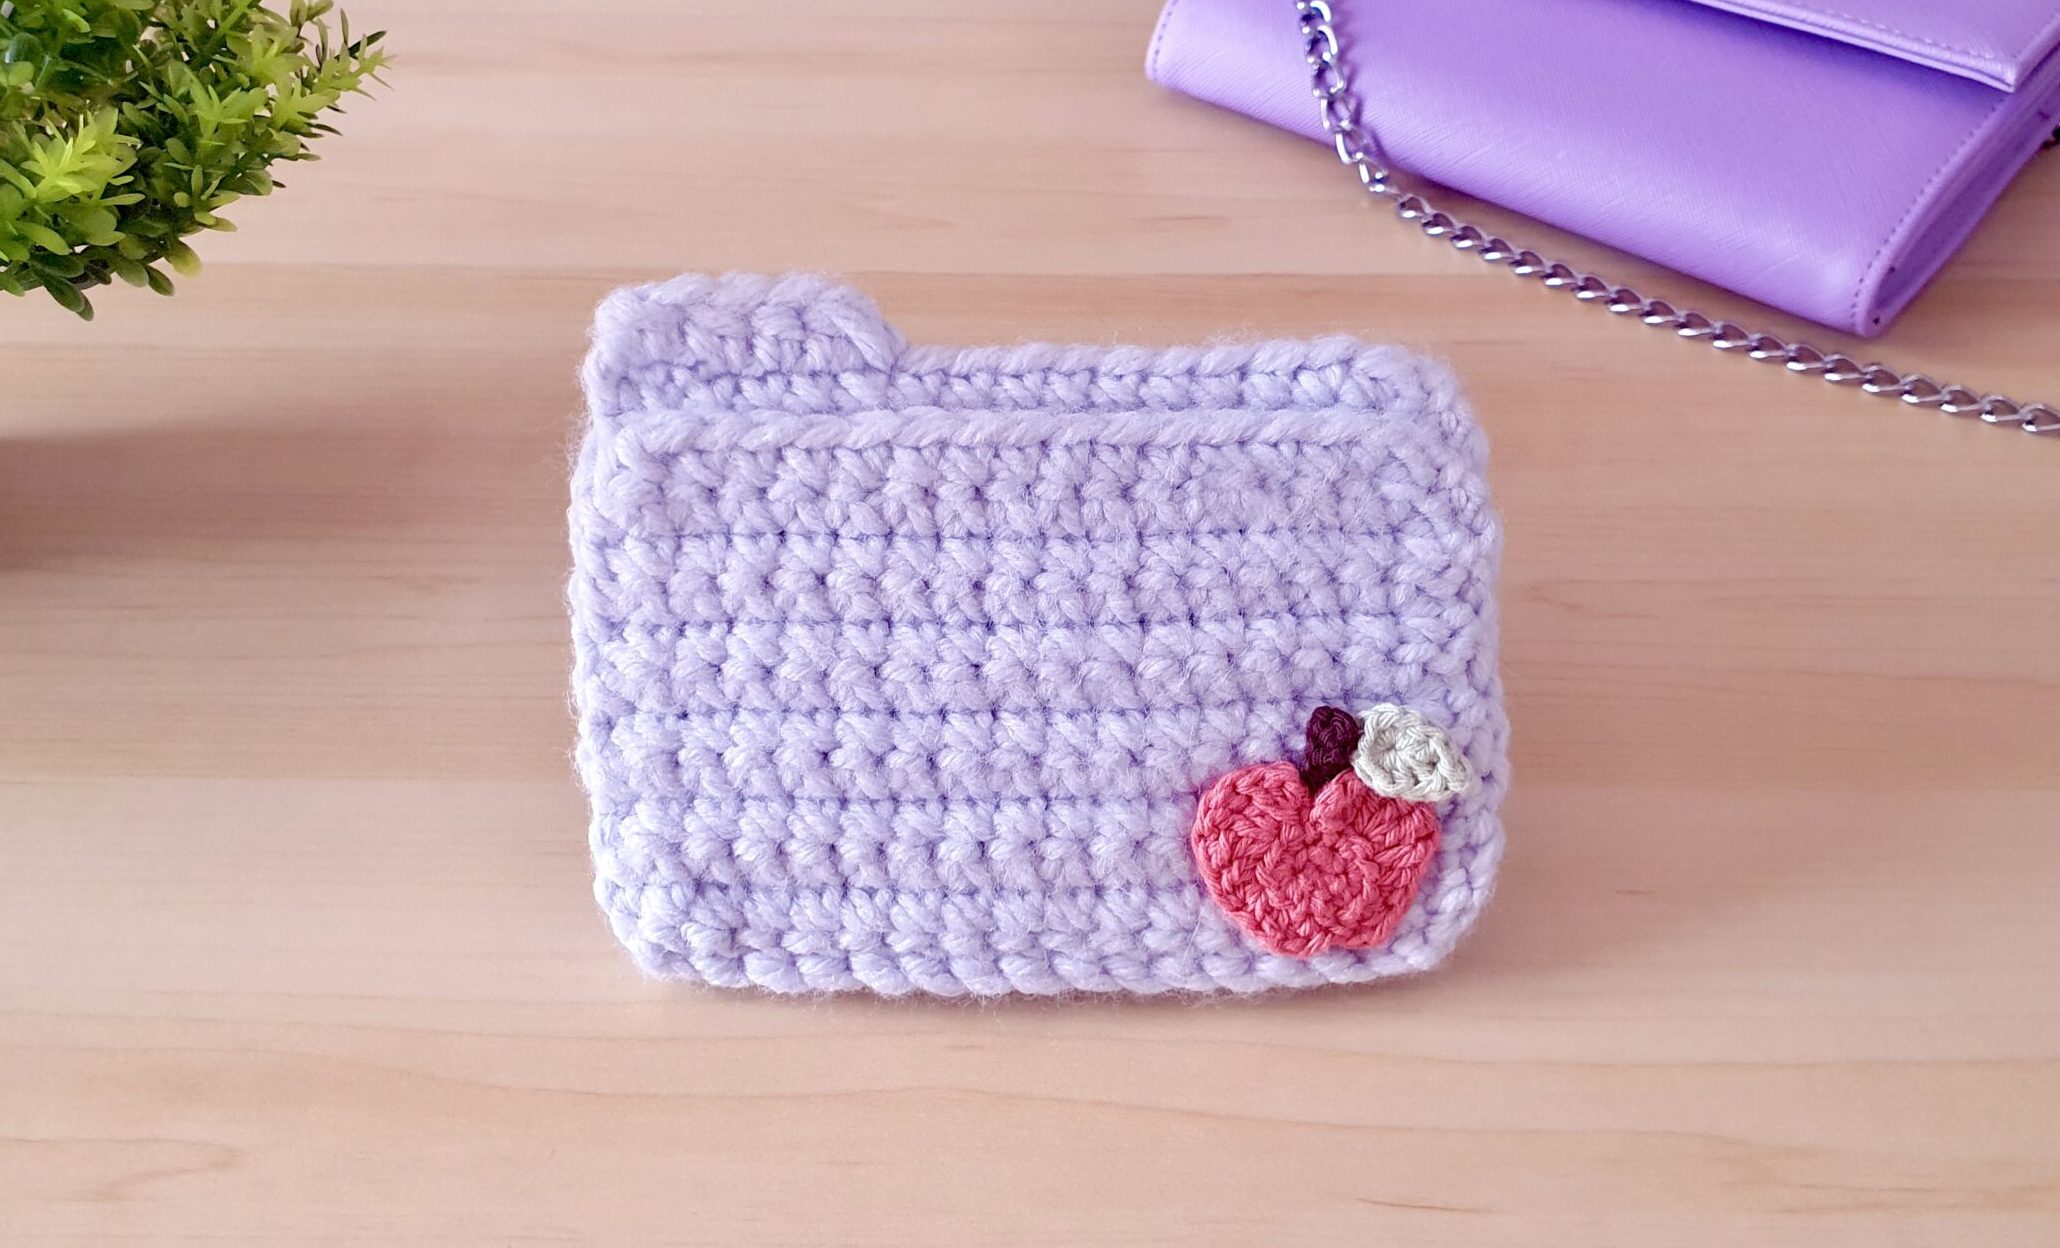
Need a quick project that’s both cute and actually useful? This one’s got you covered. In this article, I’ll show you how to crochet a wallet that’s practical enough to use every day, but with just the right amount of handmade charm to make people say: “Wait… you made that?”.
It’s a fun little make, perfect for using up that ball of yarn you’ve been saving, whipping up a last-minute gift, or just giving yourself a small win with an adorable crochet piece you’ll actually use. Let’s do this.

Materials Needed
Abbreviations – Free Crochet Wallet Pattern
ch : chain
sl st : slip stitch
sc : single crochet
hdc : half double crochet
dc : double crochet
inc : increase
dec : decrease
R : round / row
Notes – How To Crochet A Wallet
The outer part of the wallet features a unique stitch that combines a single crochet and a half double crochet into a single stitch (a decrease of a sc and hdc together). Here’s how it’s done:
For simplicity, we’ll refer to this stitch as sc-hdc dec tog throughout the pattern. You can watch this video to see exactly how the decrease is made.
For the inner panels, each row ends with a ch3 and a turn. The ch3 counts as the first double crochet of the next row, so skip the first stitch and begin crocheting into the second stitch of the row.
For the cat head, finish each round with a slip stitch to join.
The finished crochet wallet measures 18,5 cm x 11,5 cm.
The gauge for the bulky yarn is 5 x 5 cm = 8 sc x 7 rows.
The gauge for the fine weight yarn is 5 x 5 cm = 12 dc x 5 rows.
How To Crochet A Wallet – Free Crochet Wallet Pattern
Outer Panel Of The Crochet Wallet Pattern
With the bulky yarn and the 5 mm crochet hook, chain 32. Starting in the 4th loop from the hook (the 3 skipped loops count as a hdc):
Row 1: (sc-hdc dec tog, ch 1) repeat across until one stitch remains. In the last stitch, work 1 hdc.
Row 2: ch 2 (count as a hdc), skip 1st stitch, in the 1st ch1 space make the start of the sc-hdc dec tog then make the second part of the stitch by going through the next ch1 space, ch1, (in the same ch1 space make the start of the sc-hdc dec tog, then in the next ch1 space make the 2nd part of the stitch, ch1) repeat this until you have one sc-hdc dec tog left to make. For the last sc hdc dec tog, make the 2nd part of the stitch by going through the 1st loop of the 3 loops we skipped in row1, ch 1, 1 hdc in the same loop.
Row 3 to 13: repeat row 2 (at the end of each row make the second part of your last sc-hdc dec tog and the last hdc in the 2nd loop of the beg ch2 from previous row).
Cut the yarn and weave in the ends. You should now have a rectangle measuring approximately 18.5 cm by 11.5 cm, this will form the outer part of the wallet.

Stitch Chart Crochet Wallet Pattern

Bill pocket panel – Crochet Wallet Pattern
With the cotton fine weight yarn and the 3,5mm crochet hook, chain 40. Begin in the 5th loop from the hook, the 4 skipped loops count as the first double crochet of the row.
Row 1: 36 dc (37, counting the 4 skipped loops as a dc)
Row 2 to 11: 37 dc (37), ch1 and turn.
Row 12: 37 hdc (37), ch1 and turn.
Row 13: 1 sc, skip 2 stitches, (5 dc in the next stitch, skip 2 stitches) repeat this 6 times. After the last 5 dc, skip 2 stitches and make a sc in the last stitch.
Cut the yarn, leaving a tail for sewing. The finished panel should measure approximately 16.8 cm by 10.3 cm.

Back Card Panels – How To Crochet A Wallet
With the same yarn and same hook, chain 19. Starting the 5th loops (the 4 skipped loops = 1 dc) from the hook:
Row 1: 15 dc (16, counting the 4 skipped loops as a dc)
Row 2 to 10: 16 dc (16)
Cut the yarn, leaving a tail for sewing. The finished panel should measure approximately 7.5 cm by 9.4 cm. Make two of them.

Front Card Panels
With the same yarn and same hook, chain 19. Starting the 5th loops (the 4 skipped loops = 1 dc) from the hook:
Row 1: 15 dc (16, counting the 4 skipped loops as a dc)
Row 2 to 8: 16 dc (16)
Row 9: Ch1, skip 1st stitch, (3 dc in the next stitch), skip 1 st, 1 sc, skip 1 st, (3 dc in the next stitch), skip 1 st, 1 sc, skip 1 st, (3 dc in the next stitch), skip 1 st, 1 sc, skip 1 st, (3 dc in the next stitch) skip 1 st, 1 sc.
Cut the yarn, leaving a tail for sewing. Make two of them.

The Closure Tab Of The Crochet Wallet Pattern
With the bulky yarn and the 5 mm crochet hook, chain 3. Starting in the 2nd loop from the hook:
Row 1: sc inc x 2 (4)
Row 2 to 16: 4 sc (4)
Cut the yarn and leave a tail for sewing. Sew the end of the tab (the one where you finished the last rows) to the right side of the back of the outer panel.


Once finished, attach the magnetic snap button: one part on the closure tab, and the other on the front of the wallet to align perfectly when closed. Make sure to account for the thickness of the inner panels, so the closure isn’t too tight or too loose when everything is assembled.

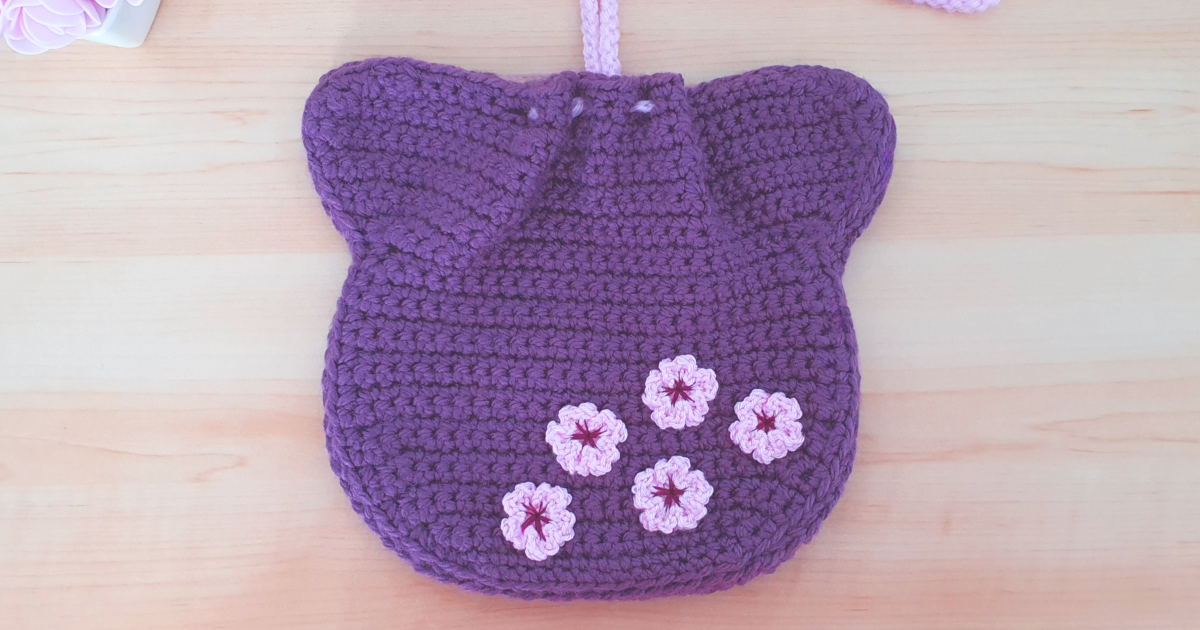
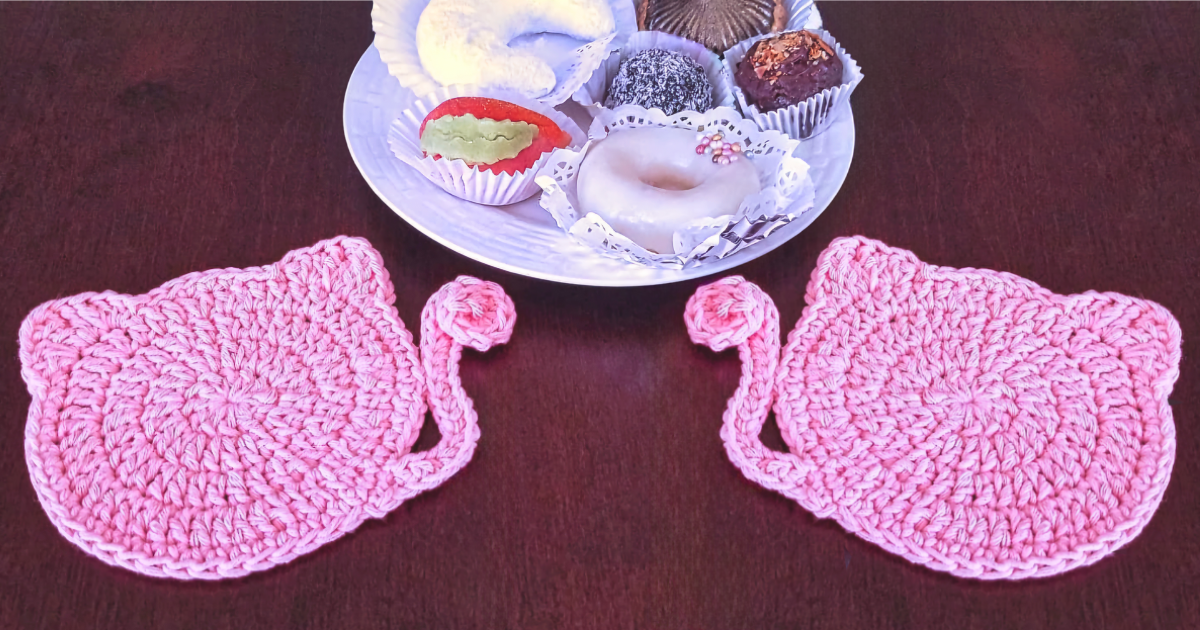
Cat Head Applique Crochet Pattern
With the amigurumi dk cotton yarn and the 2,5 mm crochet hook, chain 6. Starting the 2nd loop from the hook:
Round 1: sc inc, 3 sc, (3sc in the last loop of the foundation chain), continue working on the other side of the chain: 3 sc, 1 sc in the last loop (the one where we started the round). (12)
Round 2: sc inc x 2, 3 sc, sc inc x 3, 3 sc, sc inc (18)
R3: 1 sc, sc inc x 2, 1 hdc, 1 dc, 1 hdc, (1 sc , sc inc) x 3, 3 hdc, 1 sc, sc inc (23)
R4: 5 sl st, (hdc, dc, hdc) in the next stitch, 1 sl st, 1 sc, 1 sl st, (hdc, dc, hdc) in the next stitch, sl st until the end of the round.
Cut the yarn and weave in the ends. Make two cat heads using the same steps, then sew them together to give the piece more thickness. Finally, sew the cat head onto the back of the closure tab, right over the other side of the snap button, to conceal it neatly.


Time To Assemble Everything!
First, sew the front and back card panels together. Then, attach them to the bill panel. Finally, sew the entire assembled piece onto the inside of the wallet body, taking care to keep the stitches invisible on the outside. Use the photos below as a guide to sew everything in place.


And with that… your crochet wallet is done.


You can now tuck your cards and cash into this adorable little crochet wallet, and let’s be real, it’s cute enough to make people jealous!
If you enjoyed this article on how to crochet a wallet, feel free to check out the other free crochet patterns available on my site. And don’t forget to bookmark it so you don’t miss any new releases!
You can follow me on Instagram, Pinterest, TikTok, and YouTube for even more crochet content. And if you make this wallet, tag me, I love seeing your creations, and I always drop a like and a comment!
Until next time… happy crocheting!































0