That awkward stretch before school starts? Too late for a big summer project, too early to start packing your bag… which makes it the perfect time to make something fun, cute and useful. Meet the crochet controller pencil case.
Part gamer nostalgia, part stationery glow-up, and the easiest way to make every other pencil case in class look painfully average. It’s quick to make, roomy enough for your essentials, and almost guaranteed to get a “wait, did you make that?!” from someone across the room.
So grab your yarn, your hook, and maybe a snack for the cutscene, we’ve got one last summer side quest before the school grind kicks in.

Materials Needed
Abbreviations
ch: chain
sl st: slip stitch
sc: single crochet
hdc: half double crochet
dc: double crochet
inc: increase
dec: decrease
BLO: back loops only
R: round / row
Notes – Crochet Game Controller Pattern
The crochet controller pencil case measures 19 cm wide by 13 cm high.
The gauge for the chunky yarn is: 10 x 10 cm = 14 sc x 15 rows.
The gauge for the DK yarn is: 5 x 5 cm = 11 sc x 10 rows.
Every round ends with a slip stich in the first stitch of the round. Every row ends with a chain 1 then turn.
I suggest attaching the buttons to the front and back panels first. It makes the final assembly of the pencil case much easier.
The Crochet Controller Pencil Case Pattern
The Front And Back Panels
Ch15, starting the 2nd loop from the hook:
Round 1: 13 sc, (2 sc, 1 hdc) in the last stitch, continue working on the other side of the chain base: 12 hdc, (1 hdc, 1 sc) in the last stitch of the round (30).
Round 2: (1 sc, 2 hdc) in the first stitch, hdc inc, 2 hdc, 6 sc, 2 hdc, hdc inc, (2 hdc, 1 sc) in the next stitch, 1 sc, (1 sc, 2 hdc) in the next stitch, hdc inc, 2 hdc, 6 sc, 2 hdc, hdc inc, (2 hdc, 1 sc) in the next stitch, 1 sc (42).
R3: 3 sc, (1 sc, 1 hdc) in the next stitch, 1 hdc, hdc inc, 8 sc, hdc inc, 1 hdc, (1 hdc, 1 sc) in the next stitch, 4 sc, {hdc inc, 1 hdc} x3, hdc inc, 6 hdc, hdc inc, {1 hdc, hdc inc} x 3, 1 sc (54).
R4: 3 sc, (1sc, 1 hdc) in the next stitch, 2 hdc, (1 hdc, 1 sc) in the next stitch, 11 sc, (1 sc, 1 hdc) in the next stitch, 2 hdc, (1 hdc, 1 sc) in the next stitch, 5 sc, 1 hdc, (hdc inc) x 4, 15 hdc, (hdc inc) x 4, 1 hdc, 2 sc (66).
R5: 5 sc, (1 sc, 1 hdc) in the next stitch, 1 hdc, hdc inc, 2 hdc, 9 sc, 2 hdc, hdc inc, 1 hdc, (1 hdc, 1 sc) in the next stitch, 11 sc, (1 sc, 1 hdc) in the next stitch, {1 hdc, hdc inc} x3, (sc dec) x 2, 3 sc, (sc dec) x 2, {hdc inc, 1 hdc} x 3, (1 hdc, 1 sc) in the next stitch, 6 sc (74).
R6: 6 sc, sc inc, 2 sc, sc inc, 2 sc, sc dec, 5 sc, sc dec, 2 sc, sc inc, 2 sc, sc inc, 12 sc, (1 sc, 1 hdc) in the next stitch, 1 hdc, (hdc inc) x 2, 1 hdc, hdc inc, hdc dec, (sc dec) x 3, 1 sc, (sc dec) x 3, hdc dec, hdc inc, 1 hdc, (hdc inc) x 2, 1 hdc, (1 hdc, 1 sc) in the next stitch, 6 sc (76).
Cut the yarn and finish with an invisible join. Repeat to make two identical panels: one for the front and one for the back of the crochet controller pencil case. Each panel measures approximately 19 cm wide by 13 cm high.

Bottom Of the Crochet Controller Pencil Case
Ch7, starting the 2nd loop from the hook:
Row 1 to 44: 6 sc (6)
At the end of Row 44, work the edging as follows: Ch 1, 45 sc along the first side, 6 sc across the bottom, 45 sc along the other side, ch 1, then finish with an invisible join in the first sc of Row 44. Cut the yarn and weave in the ends. The piece should measure approximately 34 cm by 6 cm.

Top Section (Zipper Space)
Ch32, starting the 2nd loop from the hook:
Row 1 to 3: 31 sc (31)
Cut the yarn, leaving a tail for sewing. Make two pieces in total. Each piece should measure approximately 22.5 cm by 2.5 cm.
Sew the zipper sandwiched between the two pieces.


Sew The Crochet Controller Pencil Case Together
On both the front and back panels of the pencil case, we’ll place markers to separate where the bottom part of the case will be sewn to the top part for this crochet game controller pattern.
As shown in the photos below: count 5 stitches from the first and last increase at the top of the final row, then place a stitch marker in the 5th stitch. The section between these two markers will be where you sew the bottom of the pencil case (altogether, this section has 45 stitches, including the 2 stitches with markers). That leaves 31 stitches at the top to sew the upper part of the pencil case.


To assemble the pencil case:
Place the bottom piece against the front panel, aligning the stitches so they match. Sew through the front loops of the bottom piece and the back loops of the front panel. Repeat this process with the back panel too.
Next, attach the upper part of the pencil case in the same way: sew the front loops of the upper piece to the back loops of both the front and back panels.


After sewing all the parts together, close the small gap where the bottom and top sections meet, as shown in the photos below.


The Controller’s Buttons
We’ll make the crochet controller pencil case buttons with lavender yarn and a 3 mm crochet hook.
The Cross (x2)
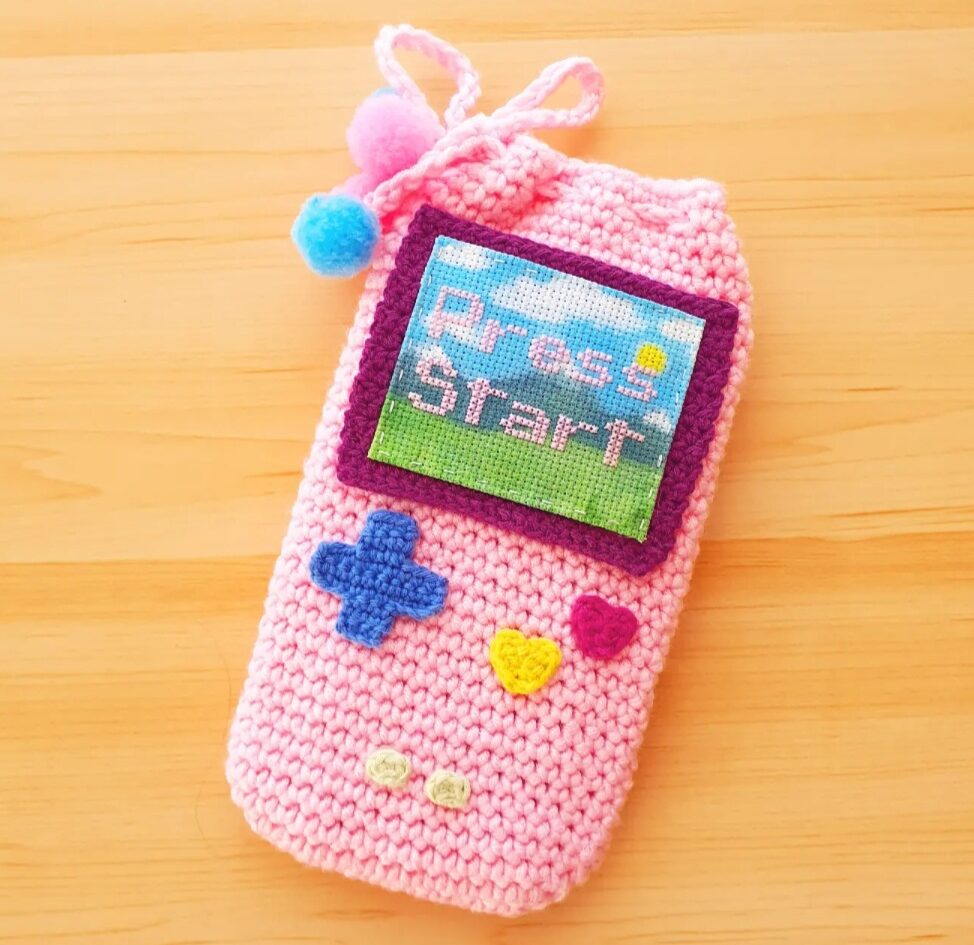
For the cross, I used the same pattern as in my Gameboy Phone Case. You can find it there, along with a video tutorial showing exactly how it’s done. Make two crosses.

The Stars – Free Crochet Patterns
Make a magic circle.
Round 1: (1 sc, 1 dc, ch1) repeat 5 times, after the last ch1: sl st in the first sc of the round.
Cut the yarn, leave a tail for sewing, and repeat until you have 8 star buttons: 4 for the front and 4 for the back.

Select/Start buttons – Crochet Game Controller Pattern
Ch 4, starting the 2nd loop from the hook:
Round 1: 2sc, (3 sc in the last loop), continue working on the other side of the chain base: 1 sc, (2 sc in the last loop) (8)
Cut the yarn, leave a tail for sewing, and make this button four times (2 for the the font, 2 of the back).

The Joysticks – Crochet Pencil Case Pattern
Top
Make a magic circle.
Round 1: 6 sc (6)
Round 2: sc inc x 6 (12)
R3: (1 sc , sc inc) x 6 (18)
R4: 18 BLO sc (18)
Cut the yarn and leave a tail for sewing.
Bottom
Make a magic circle.
Round 1: 6 sc (6)
Round 2: sc inc x 6 (12)
R3: (1 sc , sc inc) x 6 (18)
Cut the yarn and weave in the ends.
Sew the top and bottom together through their front loops. Lightly stuff the button with polyester fiberfill before closing. Make a total of four joysticks buttons this way.


Sew all the buttons on the front and back panels and you will finally be done!


Who says a crochet controller pencil case has to only carry pens? This pattern is basically a shapeshifter. Sure, it’s great as a back-to-school pencil case, but switch out the role and it doubles as a crochet makeup pouch, a crochet cosmetic bag, or even a quirky little handbag if you add tabs and clip on a chain. Gamer chic meets everyday practical.
That’s the fun with crochet; one project, endless possibilities. Today it’s a school supply, tomorrow it’s holding lip gloss, and next week it’s slung over your shoulder as the cutest little bag to carry around. So go ahead, make it your own and have fun! Feel free to check out my website, it’s packed with free crochet patterns just waiting for you to discover!
Until next time, come hang out with me on Instagram, Pinterest, TikTok, or YouTube, I’ll see you there in the meantime!































0