

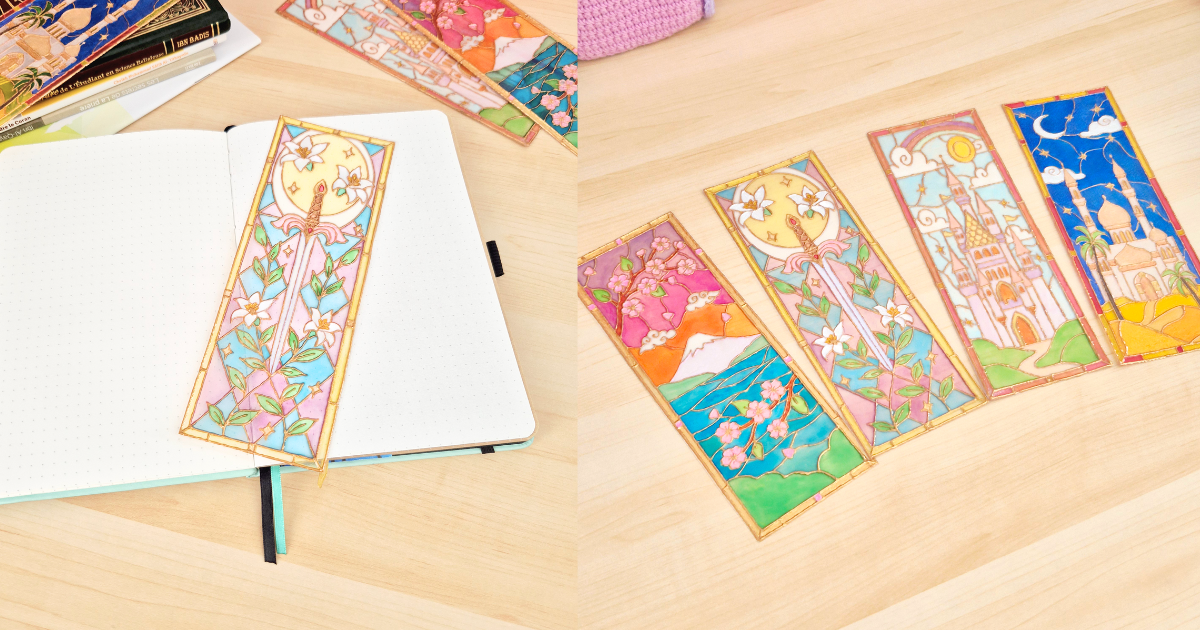
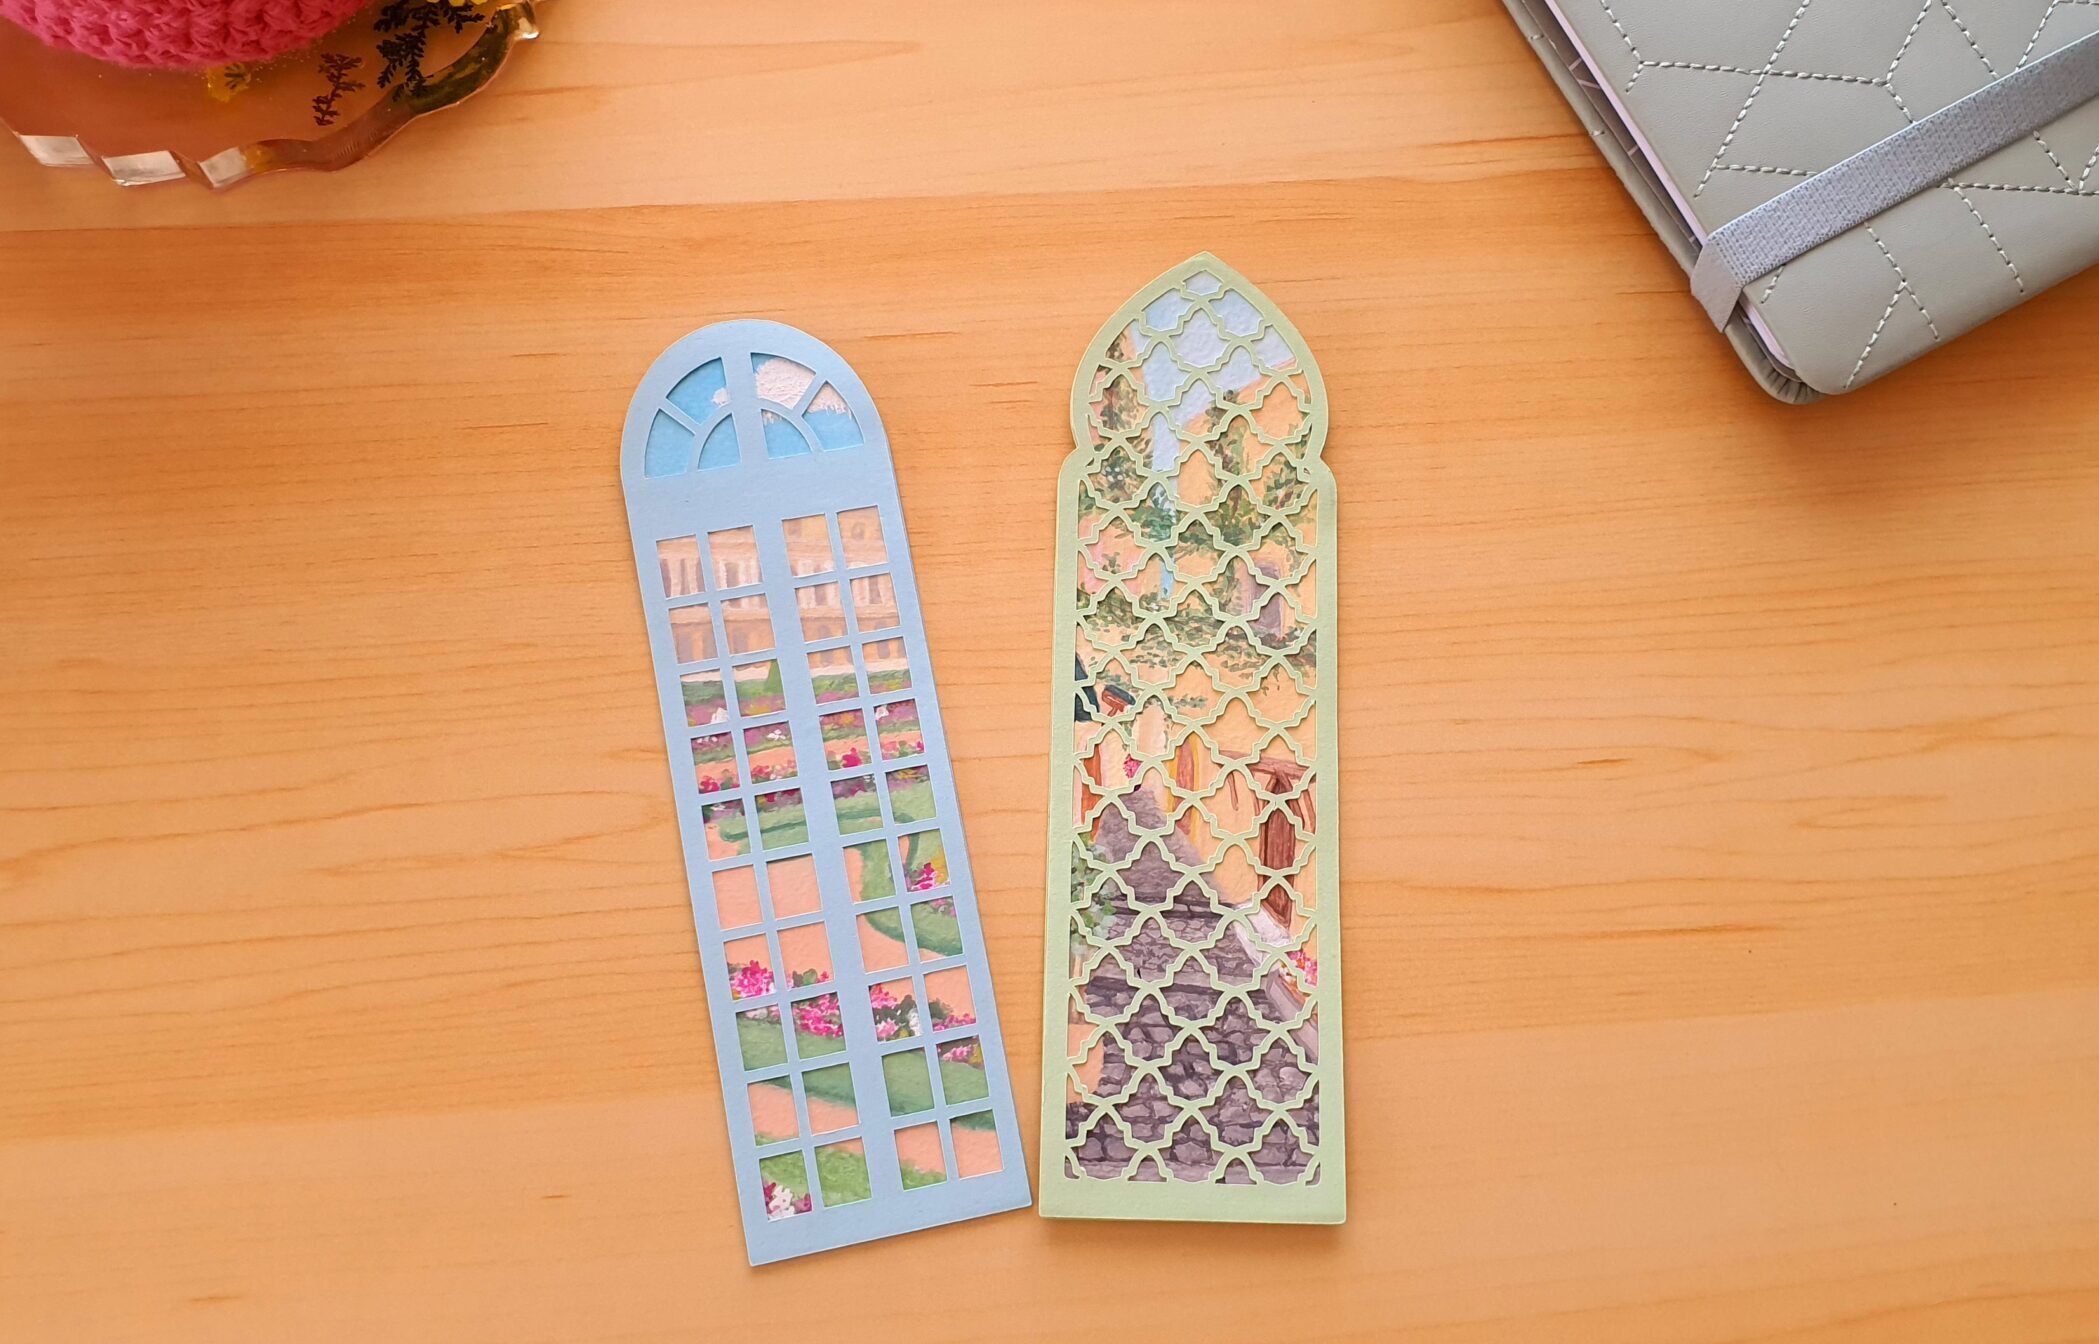
After my windows bookmarks, I really wanted to try and make another Japanese inspired bookmark. While looking for inspiration on the internet, my eyes wandered upon the shelf in front of my desk. There, was standing in front of me, my adorable crochet Shoji Lamp. So that’s how I decided to design a shoji lamp bookmark with some cute clouds and sun motif. In this article, you will find the FREE downloadable PNG files as well as some instructions to complete your own shoji lantern bookmark. Let’s get it started!
Material – Shoji Lamp Bookmark
- Watercolor paper (220 g/m² – 24 x 32 cm at least 2 sheets of paper)
- Acrylic paint
- Brushes
- White Glue
- Tracing paper
- Gold leaf
- A detail craft knife or a cutting machine to cut the designs
- A tassel
** The words highlighted in blue are direct links to products on Amazon.com. As an Amazon Associate, I earn from qualifying purchases. This means that when you click on links to various products on this site and make a purchase, this can result in a commission that is credited to this site. This helps support the maintenance and growth of Atelierdelilah.Com, at no additional cost to you. Thank you for your support! **
Download the files – Shoji Lamp Bookmark
To start your project, you will first need to download the zip file on my Gumroad store (it’s completely FREE don’t worry). Click on this link below and enter 0 in the price box to download your free file:
https://atelierdelilah.gumroad.com/l/udufw
Unzip your file, there you will find 3 PNG images: the front, middle and back of the bookmark.
Cut the designs on your watercolor paper
If you own a cutting machine, like the silhouette cameo or cricut, this step will be very easy for you: transfer the PNG files into your cutting machine software, then cut the design onto your watercolor paper.
If you don’t own one, use a craft knife to cut it. But before you will have to transfer the design on the paper. To do so, you have various way to proceed: print the designs in a sheet of regular paper, then transfer it on to the watercolor one with carbon paper.
You can also transfer the design with a graphite pencil. Color the back of your sheet of paper with your pencil. Once you’re done, flip your sheet of paper back around, then place the paper on top of the watercolor one. Tape it around, so it won’t move, then with a sharp tip pen trace the design. Remove the paper once you’re done, you should see that the design has transferred to the watercolor paper thanks to the pencil scribbles. You can watch how to do this method in this video: https://www.youtube.com/watch?v=zCEkW2RNGZw (starting 8:08)
Then cut the designs with your craft knife.

Paint the different bookmark’s pieces
Now it’s the fun part! Grab your brushes and paint the different part the colors of your choice. I personally went with several shades of brown for the lantern to respect the bookmark’s theme. I glued some gold leaves on the sun, as well as on the top part of the middle bookmark, as shown in the pictures below. This way the flower and leaves at the top will be gold and shiny.


I also painted the clouds in white to enhance the color.

To give a peeking light effect underneath the transfer paper later on, I painted the middle of the back part in yellow, while painting the center of it in white.

Time to glue! – Shoji Lamp Bookmark
So now that you have painted all the parts of the bookmark, it’s time to glue them together. But first, you might want to cut the tracing paper to the right dimensions to fit in the middle of the lantern. Cut 2 pieces of tracing paper to increase the blurriness / opacity of the lantern’s windows.
When done, glue the tracing papers on the back part as shown in the picture down below. Make sure to put the glue around the edges only.


After that, glue the top part on the middle one, then glue it on the back part to finish your bookmark. Give a tiny dot of glue under the sun and clouds to glue them on the tracing paper. Don’t put too much glue or the tracing paper might distort when the glue dries up.

Leave the bookmark under a flat and heavy thing while the glue is drying, to flatten it up.
And voilà!
Your bookmark is now finished. The only thing left to do is to attach a tassel in the rounded hole at the top of it. How awesome is it to have such a unique bookmark!

Don’t forget to bookmark my website to not miss any new bookmark DIY and design. I have another one coming soon in the same shoji lamp theme, I’m sure you will love it! Follow me on my instagram to keep up with my upcoming articles, DIY and more…


0