
Oh, I still remember the ridiculous amount of time I spent trying to make my very first crochet magic circle. I would watch a tutorial, pause every three seconds, squint at the yarn like it owed me money, and try to figure out which strand was supposed to go where. Crochet was meant to be relaxing, right? Cute little stitches, cozy vibes, peaceful hobby and all that. But this so-called “magic” circle? Let’s be honest, there was nothing magical about it at the beginning. It felt less like crochet and more like trying to solve a tiny yarn crime scene.
But don’t worry, I’ve got your back! Let me break it down for you in the simplest way I can, and teach you how to make a magic circle effortlessly with my “alphabet” method. It’s going to be easy, I promise!

How to make a crochet magic circle : The alphabet method
First start by making the letter P with your strand of yarn, making sure that its end is on the bottom of the P.

With the strand of yarn attached to the skein, make a reverse S next to the P.

Pick your top loop of the S and slide it under and inside the P’s loop.

Turn the loop once, clockwise.

Take the loop out and above of the P.

With the strand of yarn attached to the skein, make a U.

Slide the U inside the loop we just pull out of the P.

Pull the U’s loop out to the left.

Close the S’s loop tight by pulling the U and P on opposite directions, making an infinity sign shape.

Slide your hook in the U’s loop (the left one).

Take the strand of yarn that’s still attached to the skein and gently pull it to tighten the loop around your hook.

And voilà, your crochet magic circle is officially born.
Now you can start working in rounds. To close the circle, gently pull on the yarn tail: the little strand hanging from what looks like the bottom of the letter “P.” The center will tighten up, the hole will disappear, and suddenly this whole “magic” thing starts making a little more sense. Finally. Took it long enough.
I really hope this method helped make the crochet magic circle feel less like a mysterious yarn ritual and more like something you can actually do without questioning every life choice that brought you here.
Did you try it? Tell me in the comments how it went. Did the “P” trick finally make it click? Did your yarn behave, or did it still try to start a tiny rebellion? I’d genuinely love to hear if this tutorial helped you make your first magic circle.
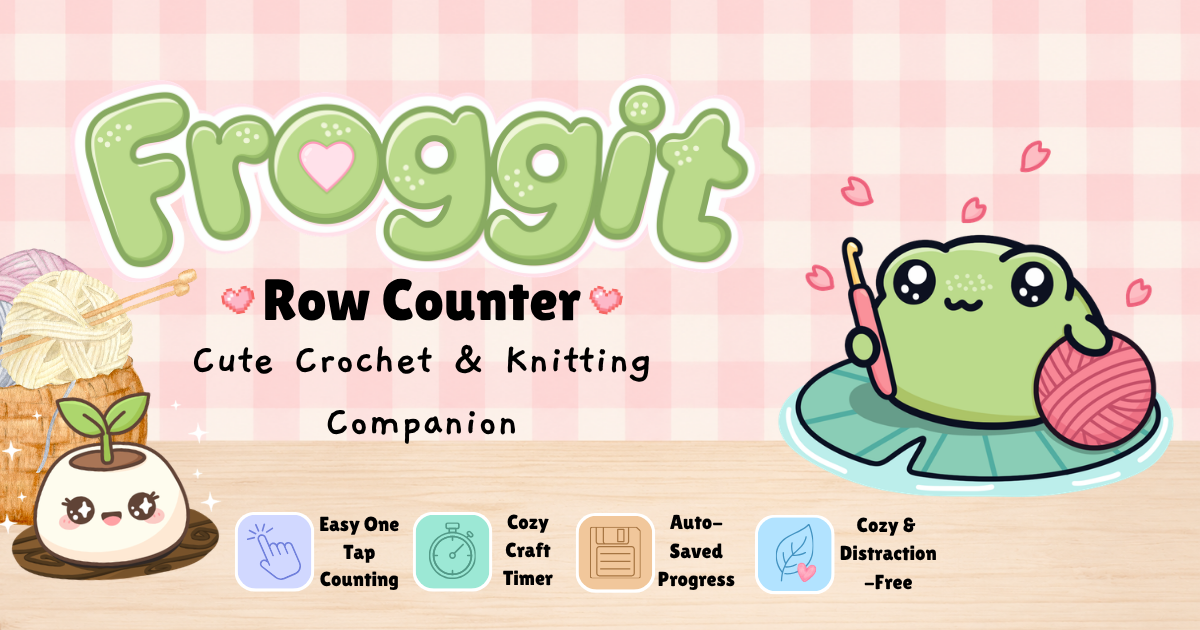
Need help keeping track of your rows?
Try Froggit, my free crochet row counter you can use directly in your browser. It helps you track your rows, rounds, and project time while you crochet or knit; no download or account needed.
Try the Free Crochet Row CounterAnd don’t forget, you can join me on my social media for more fun and crochet inspiration! Follow me on Instagram, Threads, TikTok, and Pinterest to stay updated with my latest projects. Also, make sure to subscribe to my YouTube channel for more tutorials. I’d love to connect with you and see how you’re bringing your creations to life!
And feel free to wander around my website while you’re here. I have plenty of free crochet patterns waiting for you!
If you’re just starting out, you might find these articles helpful!
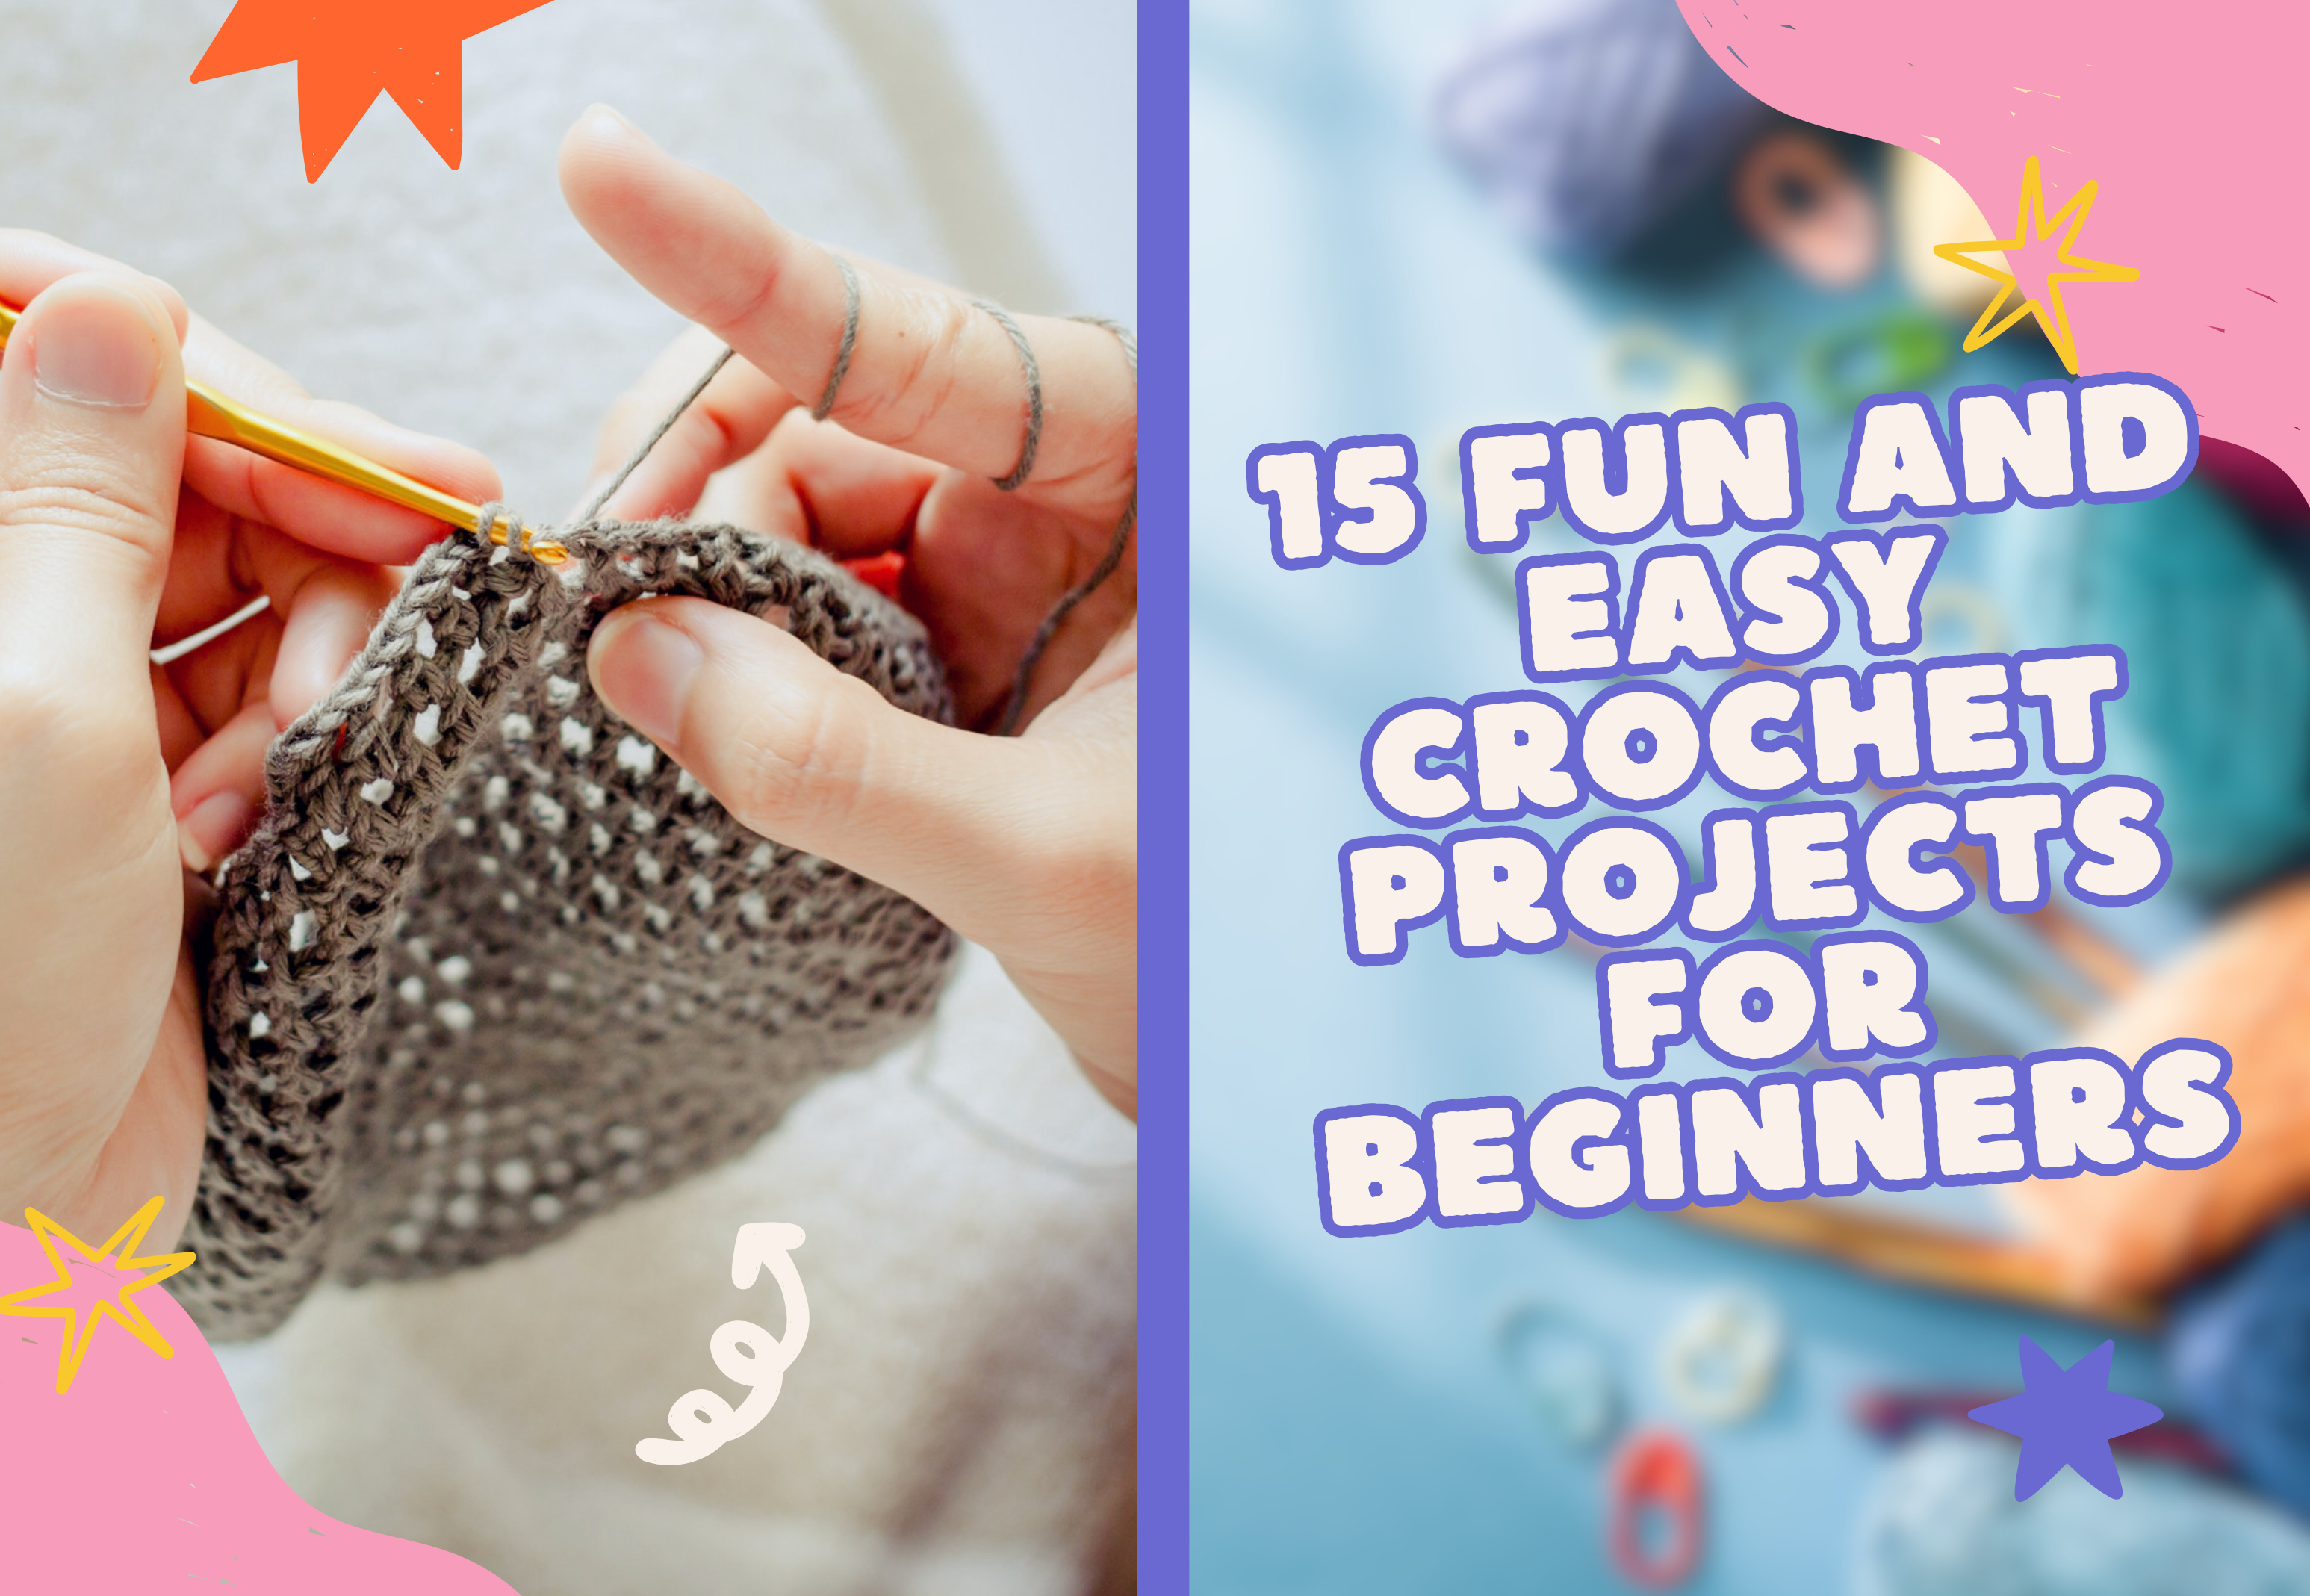
📌 15 Fun and Easy Crochet Projects for Beginners
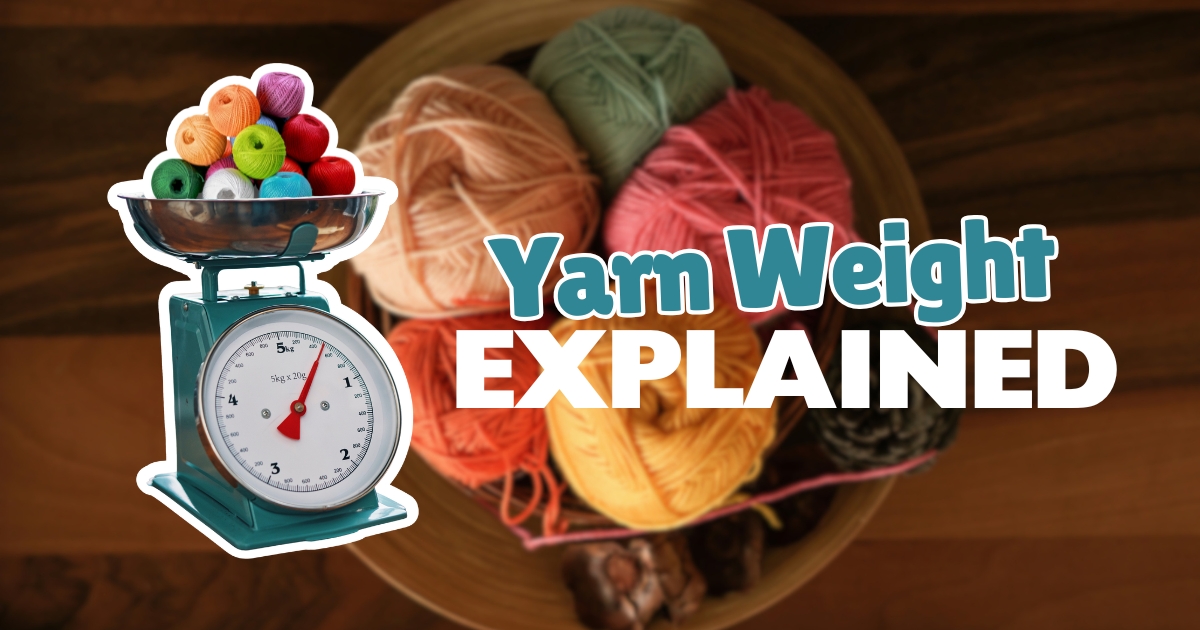
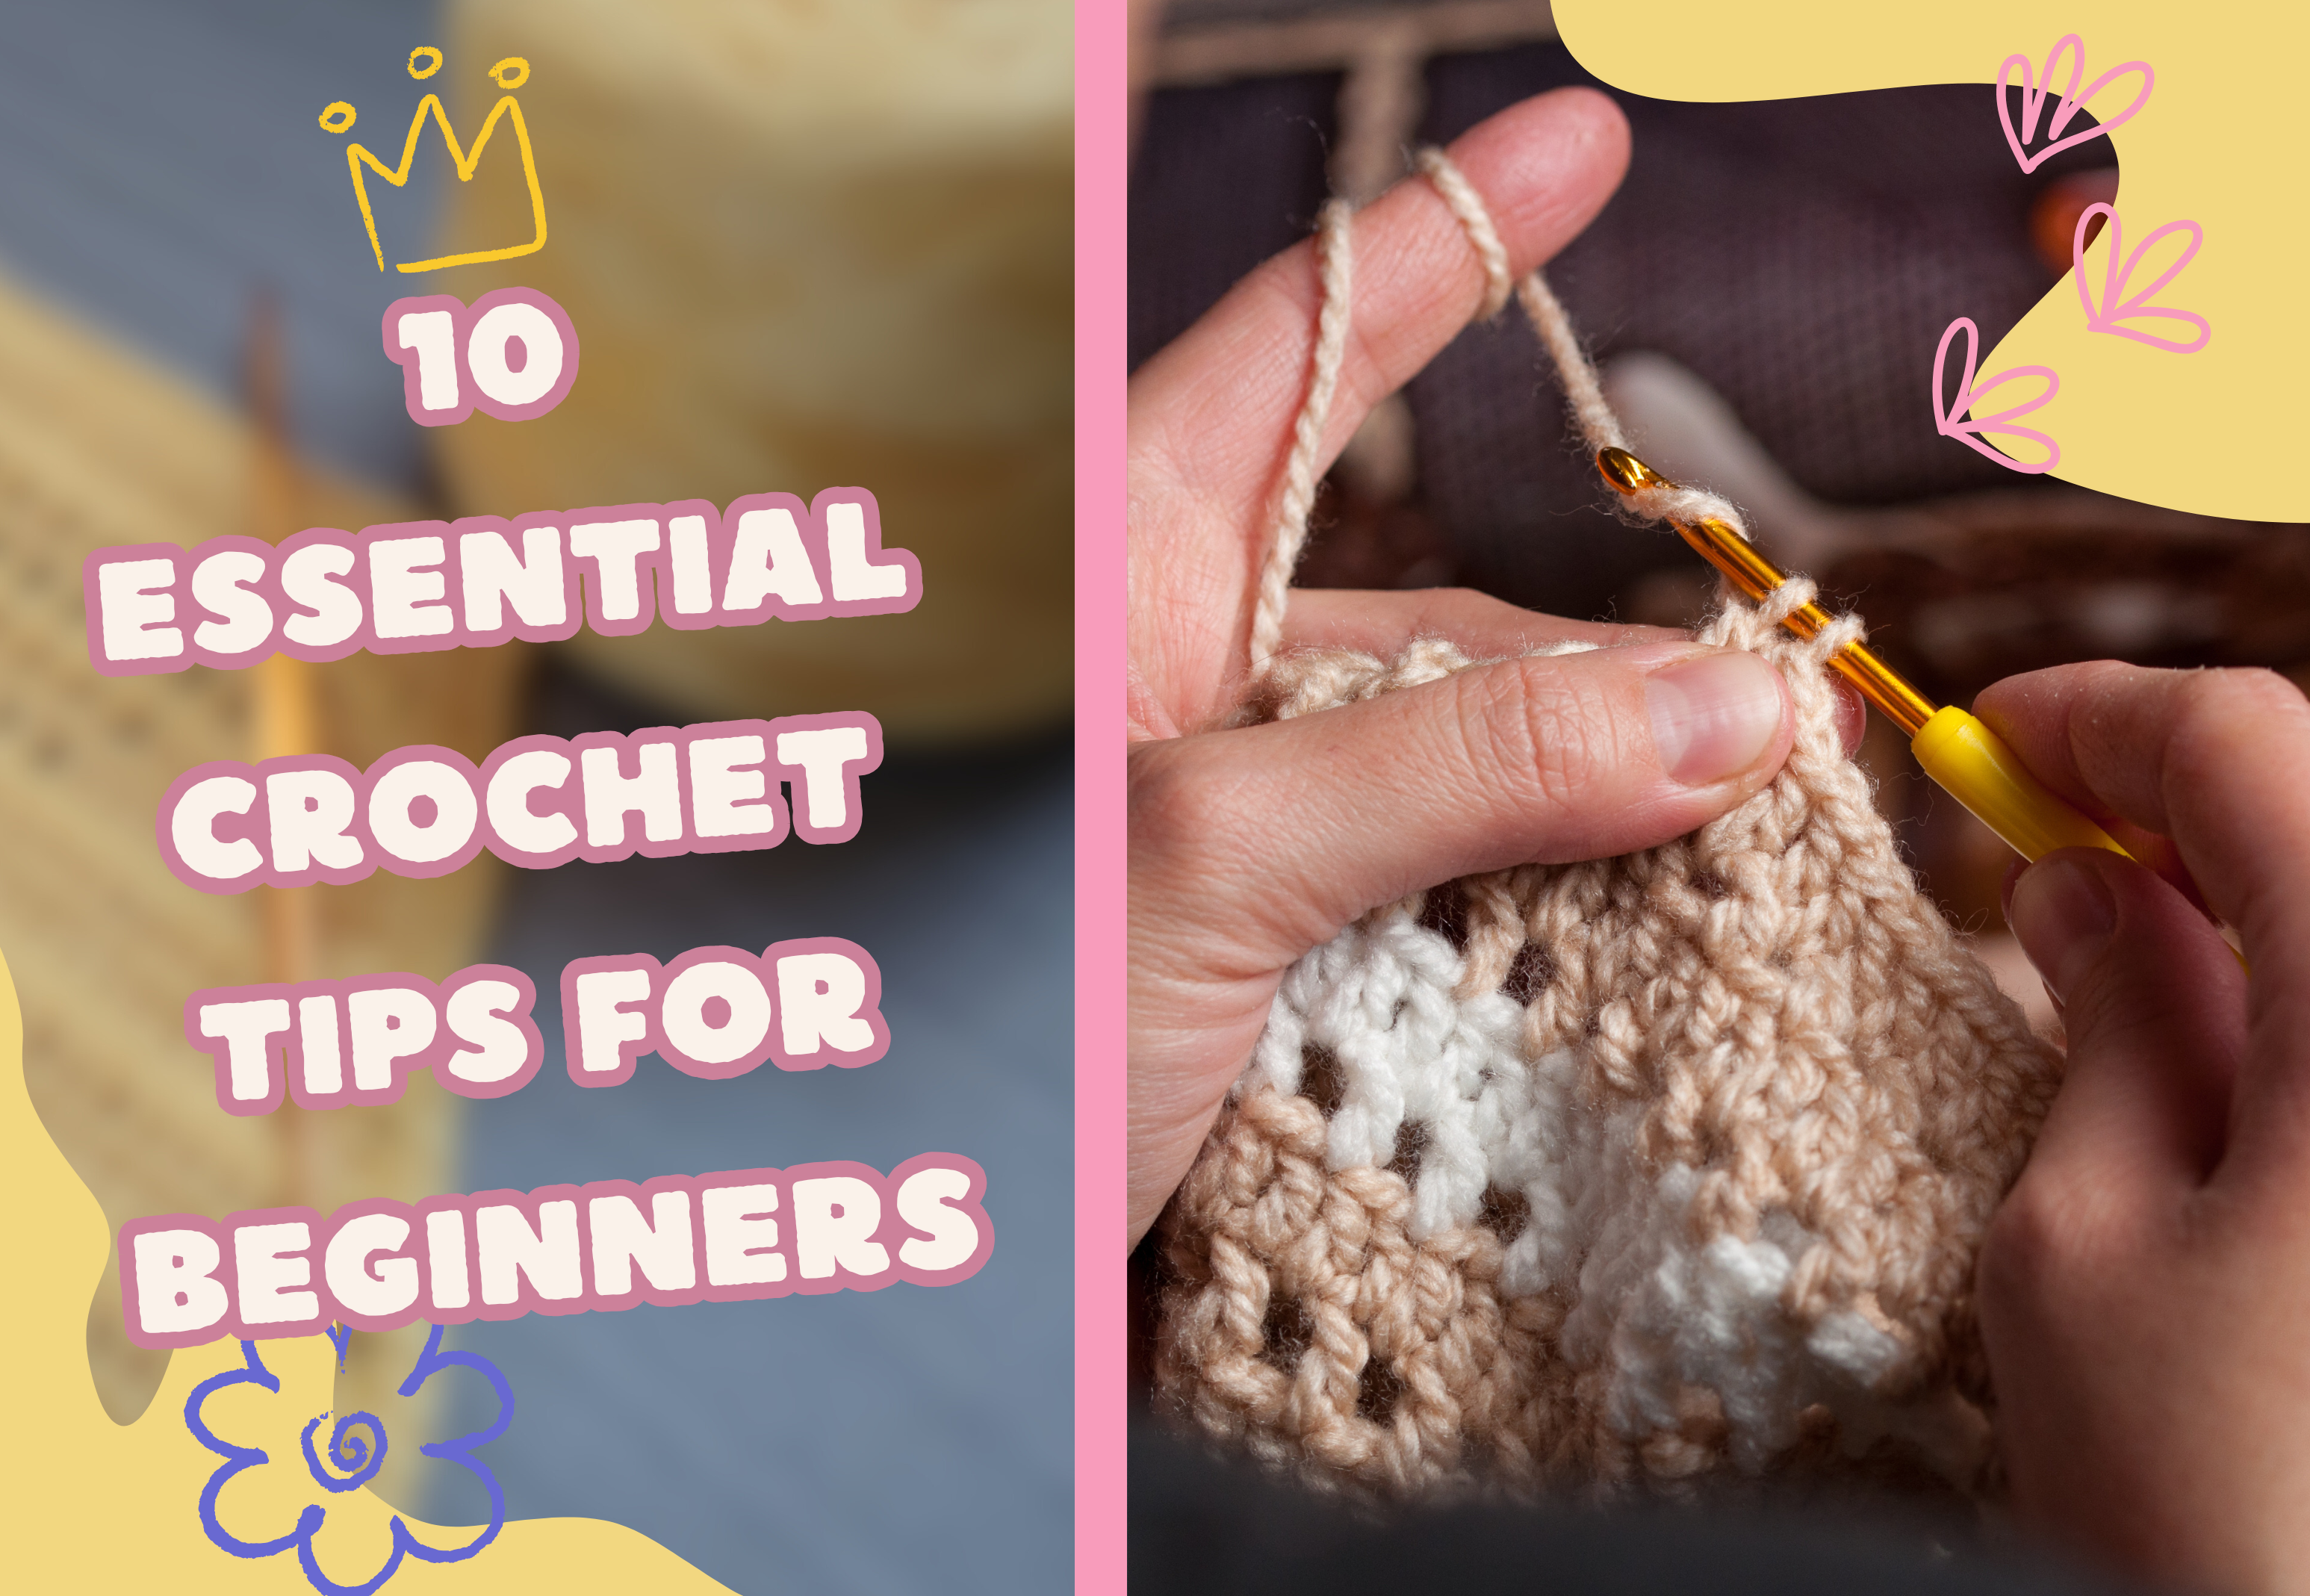
📌 10 Essential Crochet Tips for Beginners to Avoid Common Mistakes


Omg thank you!
I’ve tried a million times. Got it the first time with your great visuals 😊
Ohhh! That makes me so happy to hear! 🥰 Keep up the good work and I hope you have fun crocheting in rounds now! 🌷🌸
It works! Made my day! I’ve been struggling with this for sooo long!
Hello 🌸 I’m so glad it worked well for you! Keep up the great work! 💪🏻🌹
Wow! This works so well! And she’s so helpful! Answered my questions and made a pdf for me so I can take the instructions with me for easy reference! Thanks for making my crocheting easier!
Yay!! I actually made a magic circle. Thank you so much for your step by step tutorial
You’re welcome 🌹 I’m happy that you managed to make it!
i swear i have looked at every diagram, i have watched every instructional video under the sun and none of them have ever made sense to me except for this one. this is the first time i have ever successfully been able to make a magic circle, you have no idea how helpful this has been for me! thank you SO much
Thank you so much 😊, this genuinely makes me so happy to read! I’m so glad my method finally made the magic circle click for you. The magic circle can be so frustrating at first, so knowing that my explanation helped you make it successfully for the first time honestly means a lot! Keep up the good work, with a little more practice you’ll master this technique in no time!