
Crochet is a wonderful craft and hobby that allows you to create beautiful, handmade items. However, getting started can sometimes feel overwhelming. Beginners often face challenges that can dampen their enthusiasm and make the process frustrating. Here are 10 essential crochet beginners tips to help you start off right and make the process more enjoyable. Whether you’re a beginner or an experienced crocheter, these tips will help you avoid common mistakes and improve your skills.

1. Start with the Right Tools
Choosing the right tools can make all the difference when starting your crochet journey. Begin with a medium-weight yarn, like worsted weight, and match it with the recommended hook size. (usually a 4 mm or 5 mm hook)
Steer clear of dark or fuzzy yarns, as they can make it hard to see your stitches clearly. The same goes for cotton yarn, which tends to have plies that separate easily. It’s always that one stubborn strand that refuses to catch on the hook, leaving you struggling with the rest. Before you know it, you’re questioning your life choices and maybe having a small meltdown because it’s just that kind of day. But don’t worry, I’ve got you covered! Let me guide you through the materials you should start with to make your crochet experience fun and frustration-free.
The Yarn You Should Start With
Having taught crochet to several people, I can confidently say that the perfect yarn for beginners is nylon/cotton blend yarn. It’s smooth, non-fuzzy, and holds together nicely, making it much easier to see your stitches. This saves you from the frustration of trying to figure out where to insert your hook or dealing with strands that refuse to cooperate. It’s a go-to choice for anyone new to crochet. Once you feel confident spotting your stitches and getting the hang of the basics, you can start exploring different yarns to suit your style and projects!

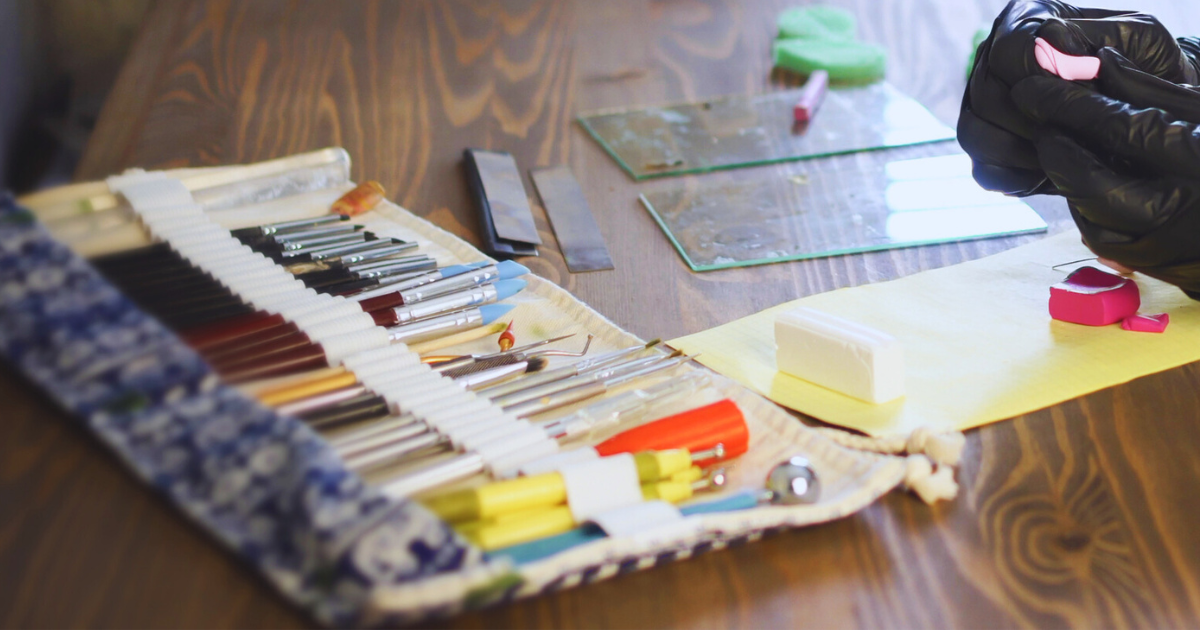
About The Hooks…
Plastic or ergonomic crochet hooks are much gentler on your hands, especially if you’re just starting out. Personally, I always recommend Prym Ergonomic hooks, they’re my go-to for crocheting. Even though I own aluminum, wooden, and other ergonomic hooks, these stand out for being lightweight and making crocheting smooth and effortless.

Among the favorite brands of advanced crocheters, Clover and Tulip hooks consistently stand out at the top. I own a few myself, and I have to admit that when it comes to smaller-sized hooks, they are my personal favorites as well.
These hooks can be pricey, and if you’re just starting out, I highly recommend opting for more affordable ones before investing in high-quality, expensive crochet hooks. Why, you might ask? Because you never know if you’ll enjoy crochet enough to justify spending a lot on top-tier materials.
My personal advice is to start with a good, reasonably priced ergonomic hook (a 5mm hook is a great choice), try a few projects, and see if you’re ready to invest more in the hobby. Alternatively, you can begin with classic aluminum or Susan Bates hooks (though I have to admit, I’m not a big fan of the hook shape on the latter) and gradually upgrade your tools over time. The key is to spend wisely at first to avoid regretting an investment in something you might not enjoy.
Yarn and hooks are the most essential tools for any crochet project. Of course, there are plenty of other handy tools — like yarn needles, row counters, blocking mats, or yarn winders — but we’re not going to get into those today. Maybe we’ll save that for another article, so keep an eye out!
Useful Link
Best Crochet Hooks for Beginners : The Ultimate Guide
2. Learn the Basic Stitches First
Building confidence in crochet starts with following these important crochet beginners tips. Don’t rush into complicated patterns until you’re comfortable with the foundational techniques. Start by learning how to make a slipknot and a foundation chain, and really take your time to get that foundation chain just right. Make sure the loops are clear, evenly spaced, and facing the right way. Rushing through this step or skipping it can lead to a messy chain, making your first row frustrating and discouraging. Trust me, I’ve been there, and it’s no fun! A neat, well-made foundation chain is the secret to starting your project off on the right foot.
Once you’ve nailed the foundation chain, move on to your first row of single crochet. After that, practice the other basic stitches: slip stitch, half double crochet, and double crochet. Next, learn how to increase and decrease stitches, and then work on mastering rounds (crocheting in the round instead of rows). These are the fundamental skills every crocheter should know. Once you’ve mastered these, you’ll be ready to take on your very first project with ease!
A Bit Of My Experience – Crochet Beginners Tips
When I teach crochet, I spend a lot of time on one thing: getting that foundation chain just right. If someone starts with a messy chain, I know the rest of their project is likely to follow suit, and I want to avoid that! So, I take extra time helping them fix it, frogging the chain over and over until the loops are even, no twists, and no upside-down loops. Once they’ve mastered that foundation chain, I know they’ll find it much easier to work in rows.
Here’s why: by redoing their chain and identifying where they went wrong, they start to understand what I like to call the “anatomy” of a stitch. They get familiar with the “V” shape at the top of each stitch, which helps them recognize it when working in rows later.
Everyone learns at their own pace, of course, but from my experience, when I take the time to help them perfect that first chain, they learn to work in rows faster, know exactly where to insert their hook, and get the basic stitches down much more quickly. They become more observant of how their stitches look and spot mistakes before they get too far — following these crochet beginners tips every step of the way!

So, from my experience, I really recommend you take the time to build that perfect foundation chain before moving on to rows. It’ll make the whole process so much smoother in the long run!
3. Use Stitch Markers
Stitch markers are an absolute must-have for beginners and remain essential even for advanced crocheters. Why? Because they’re invaluable for keeping your work organized and stress-free. They help you keep track of your rounds, making it easy to identify the first or last stitch—depending on what you need to mark—so you don’t lose your place. Stitch markers are also crucial for dividing sections whenever your project calls for it. You can buy cheap ones, use a safety pin or a piece of yarn, or even make them yourself! I have a full step by step guide to help you make the most adorable stitch markers ever here: How to make your own fancy stitch markers .

4. Check Your Tension
Tension refers to how tightly or loosely you crochet, and it plays a crucial role in the overall appearance of your project. Inconsistent tension can lead to uneven stitches, while consistent tension gives a more polished finish to your project. It is all about creating the right balance between friction and resistance as you guide the yarn through your fingers. This balance controls how much yarn is fed into your stitches and how tight or loose they appear.
To master tension, practice how you hold your yarn—this takes time and repetition, so don’t be discouraged! The best way to control your tension is by weaving the yarn through your non-dominant hand’s fingers in a way that naturally slows it down. For example, some crocheters loop the yarn around their pinky, then pass the yarn under their middle fingers, then over their index (see picture below) to create this gentle drag.

Important Note – Crochet Beginner Tips
It’s important to note that tension can fluctuate over time. For example, if you crochet one day, and continue the next one, your tension may shift slightly or significantly, depending on how well you control it. Even with good control, subtle changes in tension can occur. This is especially important to consider if you’re working on pieces that need to match in size, like two sleeves or identical panels. To avoid inconsistencies, try to crochet matching parts on the same day, maintaining consistent tension throughout.
In summary, pay attention to your tension, practice regularly, and plan ahead for projects requiring identical components. This simple step can save you time and frustration while keeping your creations looking their best!
Tip for Beginners:
If your stitches are too tight, relax your grip. If they’re too loose, hold the yarn slightly tighter.
Crochet tension rings are a thing, but I don’t own one myself, so I can’t say for sure if they work. You can totally give them a go if you want, but personally, I recommend mastering tension with your own fingers: it’s free, and trust me, you’ll never lose them, well, at least I hope not! The choice is yours!
If you have a 3D printer, you can download and print this tension ring designed by Milan, it’s free. I’ve tried it, and it’s pretty cool! Though, you’ll still need to use your pinky to create that perfect resistance while holding the yarn.
5. Don’t Skip the Gauge Swatch
I know, I know! It’s so tempting to skip this step (I’m guilty of it too!), especially when you’re eager to get started on your project. But trust me, making a gauge swatch is totally worth it! It’s the key to making sure your project turns out the right size. Taking a few extra minutes to follow the pattern’s gauge instructions will save you from the heartache of realizing your beautiful creation is either too big or too small later on. So, take a deep breath, make that swatch, and match the designer’s specs. It’s a small step that makes a huge difference in the end!

6. Count Your Stitches
One of the most common mistakes I see beginners make is losing or adding stitches without realizing it. It’s so easy to get lost in the rhythm of crocheting, but the good news is that counting your stitches can easily prevent this! While counting as you crochet is definitely helpful to catch mistakes right away, it’s also perfectly fine to count your stitches at the end of every row or round to double-check everything is on track.
Taking that extra moment helps you check your stitch count, and if something’s off, you can fix it before moving on. It’s a simple habit that can save you from a lot of frustration later on and help keep your project looking neat and consistent. So, whether you count as you go or at the end, just make sure you do it, it’s totally worth the effort!
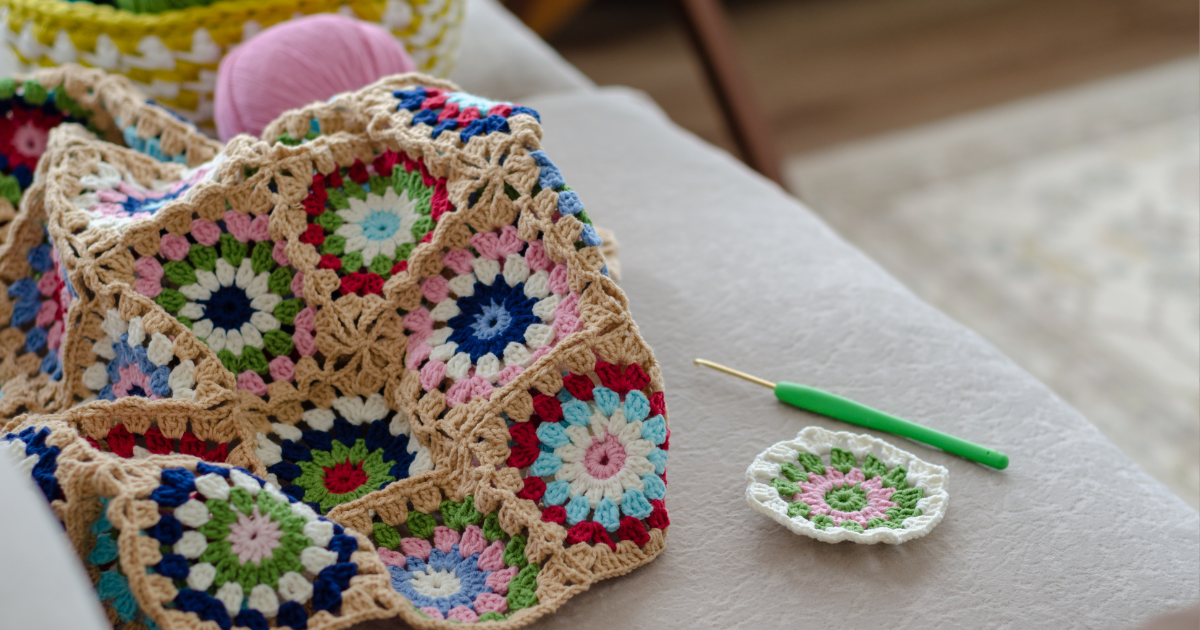
7. Use Light-Colored Yarn
When you begin crocheting, light shades like cream, pink, or yellow are your best bet. They make it so much easier to see each stitch clearly, helping you stay on track and catch any mistakes quickly. Black yarn, however, is a nightmare! It’s so dark that you can’t see the stitches at all. This makes it really hard to tell where you are, and any errors can easily get hidden, making the whole process way more frustrating! Darker colors like navy or black should be avoided at all cost by crochet beginners. By sticking to lighter colors, you’re setting yourself up for a much smoother crocheting experience, and trust me, it’ll make everything a lot easier!


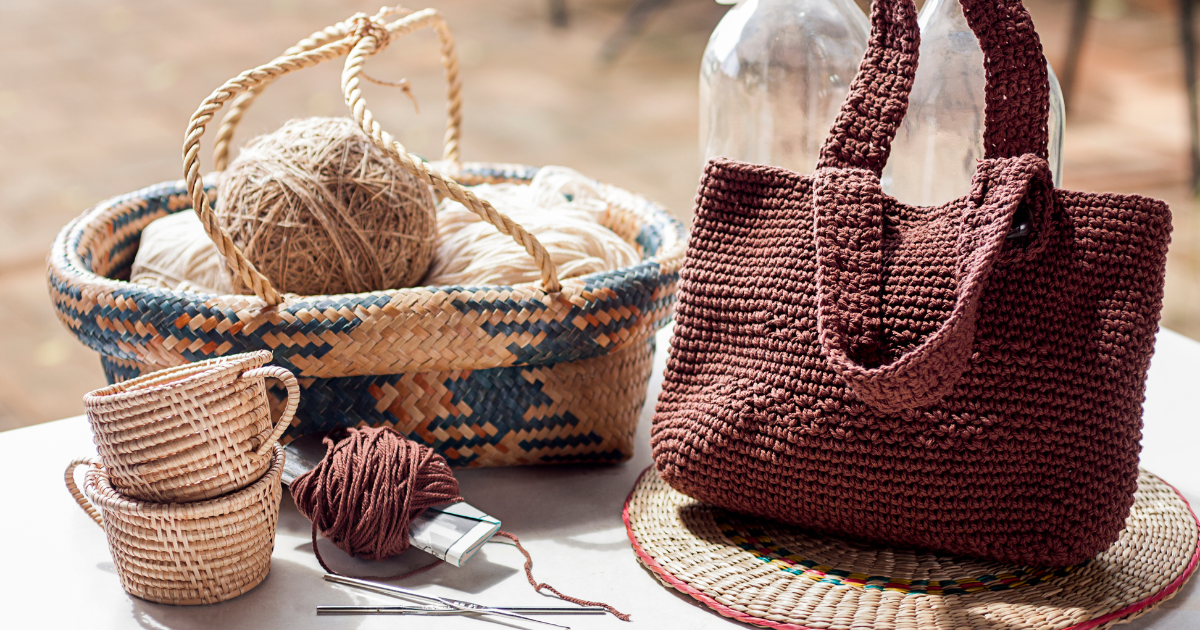
8. Start Simple For Your First Projects
Start simple with your first projects, as following crochet beginners tips will give you a solid foundation for learning the basics. Opt for something straightforward, like a dishcloth, scarf, or even a small coaster. These crochet beginner-friendly projects allow you to focus on practicing basic stitches, such as the chain, single crochet, or double crochet, without feeling overwhelmed by intricate techniques or complicated patterns.
Starting with simpler designs helps you build confidence, develop muscle memory, and get more comfortable holding the hook and yarn. It might be tempting to jump into complex patterns with advanced stitches, but that can quickly lead to frustration if you’re still getting the hang of the basics. By tackling smaller, manageable projects, you’ll enjoy the process, see progress, and feel a sense of accomplishment, fueling your motivation to keep learning and growing as a crocheter.
Helpful Resources:
- List of Crochet Abbreviations
- Learn the differences between the UK an US crochet terminology
- Video tutorials for visual learners
- 15 Fun and Easy Crochet Projects for Beginners
- My youtube channel for crochet video pattern tutorials
9. Stretch and Take Breaks to Avoid Fatigue
Crocheting for long periods can strain your hands and wrists. Take regular breaks to stretch and rest. This will keep the hobby enjoyable and pain-free. Over time, repetitive motions can lead to discomfort, stiffness, or even conditions like carpal tunnel syndrome or tendonitis. Protect your hands by incorporating simple stretches into your routine, such as flexing and extending your fingers, gently rotating your wrists, or squeezing a stress ball to improve circulation.
Remember, your hands are your most valuable tools for creating! A quick 5-10 minutes break every hour can make a big difference. Place your project down, stretch your fingers, and let your wrists relax. Not only does this help prevent injuries, but it also gives you the energy to crochet for years to come.
Compression Gloves!
Compression gloves can be very helpful for crocheting, especially if you spend a lot of time crocheting or experience pain in your hands, wrists, or fingers. They can help with:
- Reducing muscle fatigue: By supporting your muscles and tendons, the gloves can ease tension caused by repetitive motions.
- Improving circulation: They promote better blood flow, which can prevent numbness and discomfort.
- Relieving pain: If you have arthritis, tendinitis, or carpal tunnel syndrome, compression gloves can provide relief.
Make sure to choose gloves designed for crafts, offering compression while allowing your fingers to move freely.
10. Don’t Be Afraid to Frog
“Frogging” (or ripping out stitches) is a normal part of the crochet process, and honestly, it’s something every crocheter has to embrace. If you make a mistake, don’t be afraid to undo it. It might seem frustrating in the moment, but it’s much better to fix the mistake right then and there than to push through and regret it later. When you frog, you’re not just fixing the mistake, you’re also learning more about your stitches, getting a better sense of how your project is coming together, and improving your skills along the way.
Crochet is all about practice, and mistakes are simply part of that journey. If you let errors slide, they can add up and affect the overall look and fit of your project, which means more work down the line. Keeping crochet beginners tips in mind, like taking a few extra minutes to frog and fix things early, can save you from bigger headaches later and help your project turn out the way you want. Plus, frogging isn’t as scary as it sounds! It’s just another opportunity to perfect your technique and keep getting better.
To Conclude These Crochet Beginners Tips
Crochet is such an exciting journey, and every little mistake along the way is really just another opportunity to learn and grow. It might feel a little tricky at times, but trust me, each hiccup will make you a stronger crocheter! By keeping these crochet beginners tips in mind, you’ll avoid those common pitfalls and be able to fully enjoy the creative process. And remember, even the most skilled crocheters were once beginners, just like you! Patience and perseverance are the keys to becoming a seasoned crocheter!
Ready to start your crochet adventure? Check out all the fun crochet patterns on my website and get started today! I can’t wait to see what you make, share your creations with me on Instagram, TikTok, Threads and Pinterest. And don’t forget to visit my YouTube channel for step-by-step tutorials to help you along the way. Happy crocheting!


0