

Sometimes inspiration hits when you least expect it, like when I stumbled across LiaDiaDesigns gorgeous stained-glass style creations on TikTok. Her bright colors and intricate patterns completely hooked me; I couldn’t stop wondering, what if I tried making my own DIY stained glass bookmark? I saw that LiaDiaDesigns used acrylic sheets for her creations, but for a quick little project anyone can try, I went with transparency sheet paper instead: super affordable and easy to find.
That choice felt natural to me, especially since this wasn’t my first time experimenting with a stained glass effect. In fact, I had already played with the idea last year when I made a miniature featuring a tiny, colorful stained glass window.

With that experience under my belt, I already knew exactly what materials were needed to create my stained glass bookmark. All that was left was to come up with a design I loved and could share with you for free, so once you’ve gathered the supplies, you’ll be able to make your own DIY stained glass bookmark too. So, without further ado, let’s take a look at what you’ll need!
Materials Needed – DIY Bookmark

DIY Stained Glass Bookmark
Step 1: Outlining Your Sword Illustration
To begin your DIY stained glass bookmark, print my FREE sword illustration on a A4 paper. Place your transparency sheet over the illustration and tape it around the edges to keep it steady; this way you won’t have to reposition it each time it shifts. Using your gold cerne relief, carefully trace over the lines of the design onto the transparent sheet.
Keep steady, even pressure so your lines come out smooth and uniform. Work slowly, but keep a consistent pace: the longer you stay in one spot, the thicker the line will get, while moving too fast can make the line thin or even patchy.
That’s why I recommend practicing first on a scrap sheet to get a feel for how much pressure to apply before starting on your project. Remember: more pressure means more paint comes out. Keep this in mind especially for the outer edges of the design, which I suggest making slightly thicker than the inner details. In short: consistent pressure = clean, even lines.


If you make a mistake or aren’t happy with a line, don’t worry: you can fix it by gently scratching off the relief outliner or carefully lifting it away with tweezers.


Once you’ve finished outlining the design, let the relief outliner dry completely and harden before moving on.
Step 2: Filling the Design with Glass Paint
Now comes the fun part: it’s time to start filling in the spaces between your outlines with glass paint. Tape your transparency sheet onto a flat, white surface to keep it from shifting, see the colors clearly as you paint, and ensure the paint dries evenly.
Apply the paint in thin, even layers using a pointy tool such as a silicone precision tool or a toothpick, making sure to spread it out smoothly as you go. If the paint is applied too thickly, it may crack as it dries, so working with fine layers will give you the best results.
Take your time, let the color flow naturally within the contours, and focus on creating an even finish that will really bring your stained glass effect to life.

Let the paint dry fully before starting the next section to avoid smudging.

Want More?
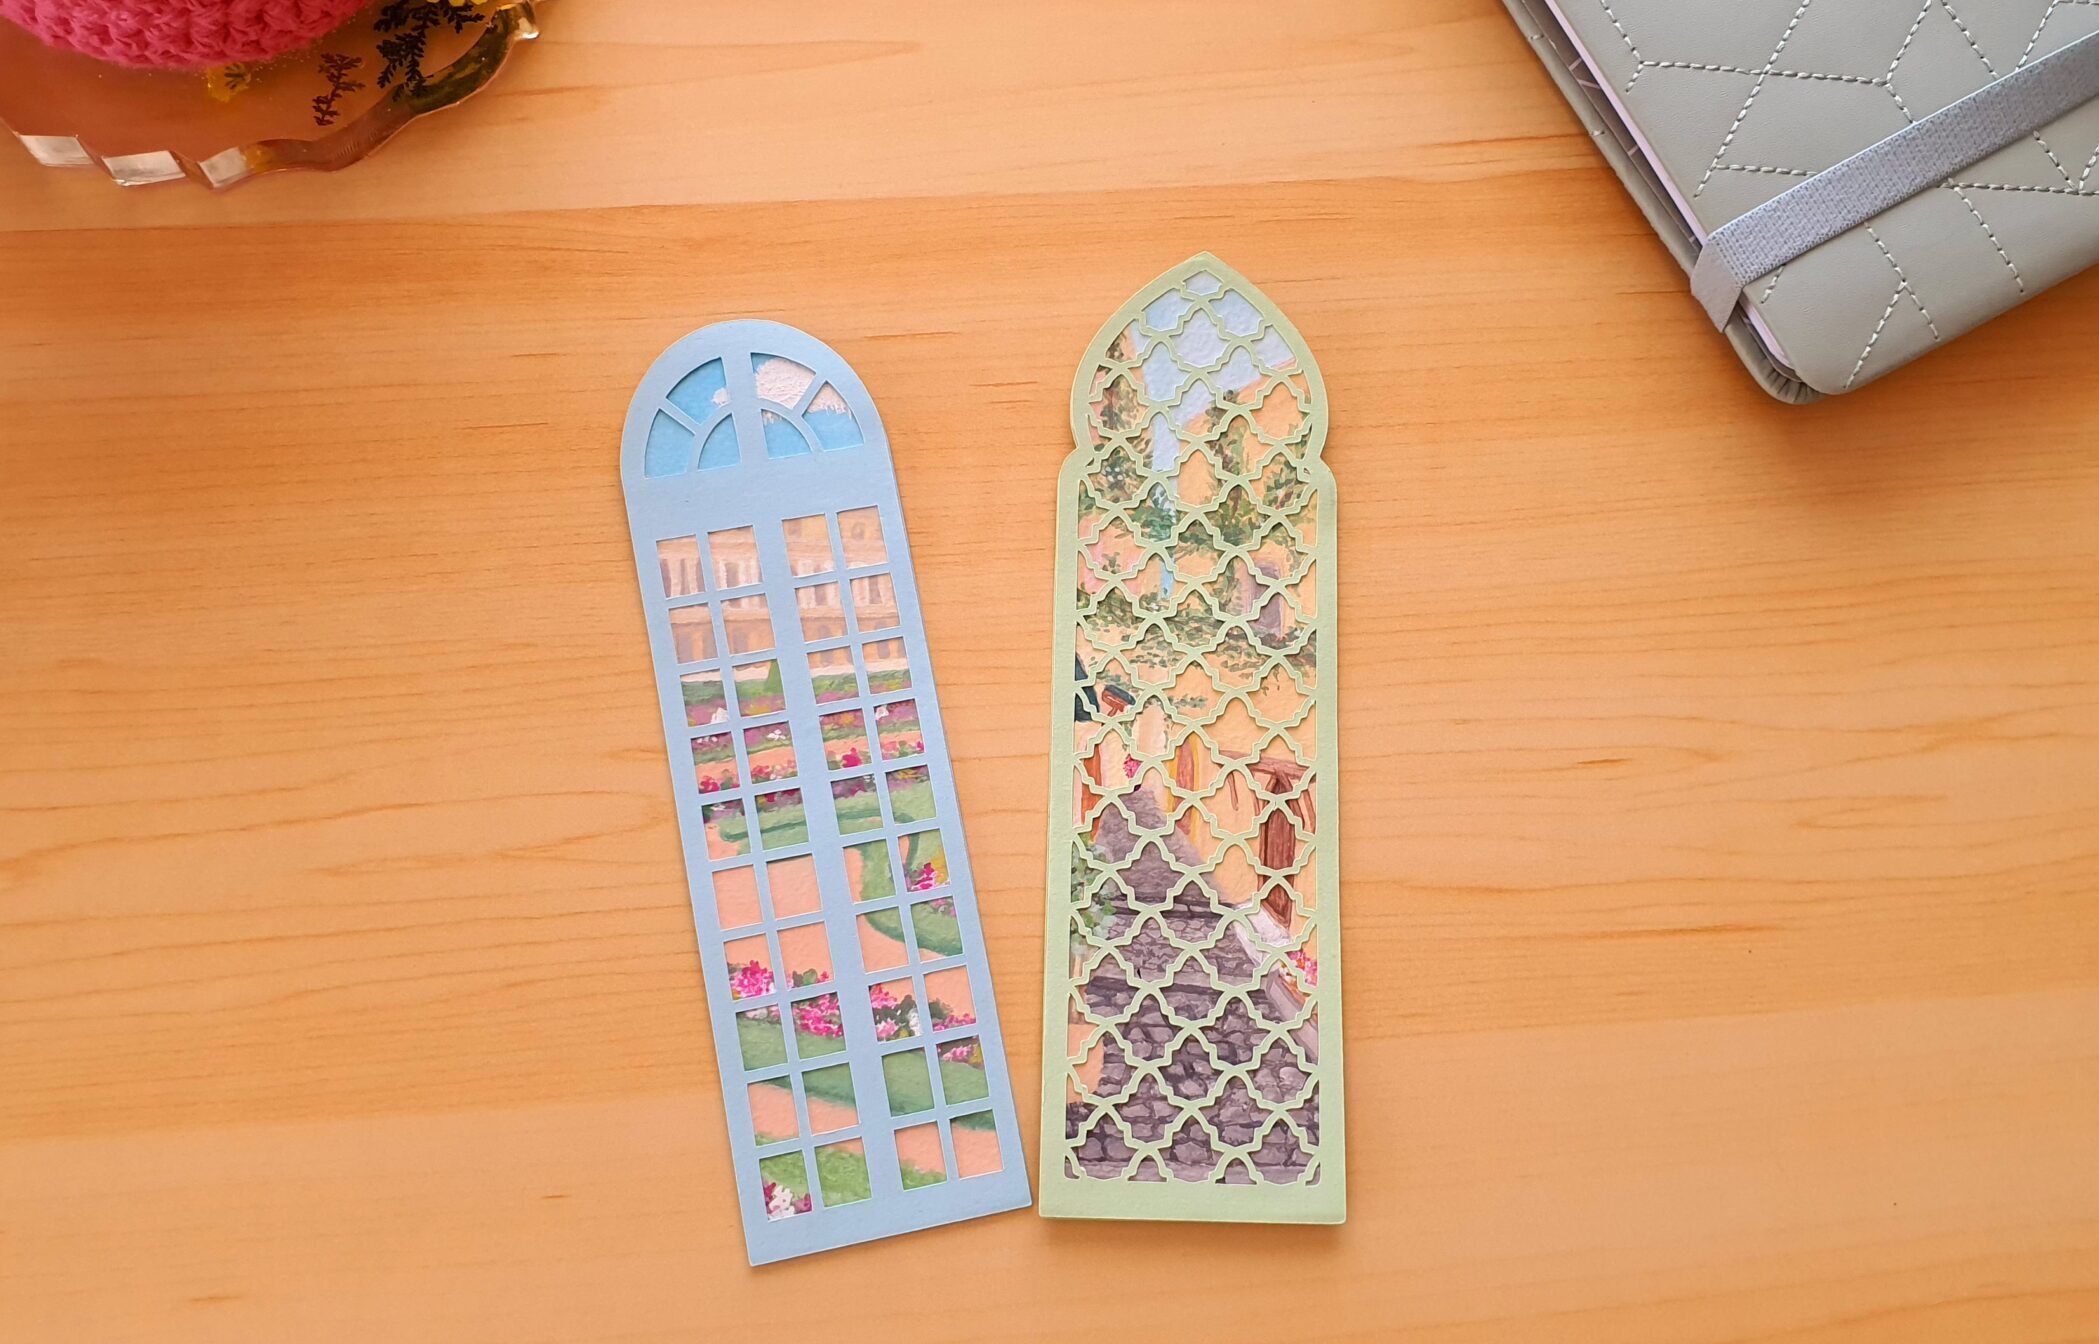
Grab all 3 illustration templates for more DIY stained-glass bookmarks and start your own collection, only $2 (about €1.82)!

Step 3: Cut And Seal Your Stained Glass Bookmark
To finish your bookmark, seal it with varnish. Apply two coats for good coverage, or three if you’d like extra durability. Make sure to let each coat dry completely before applying the next. You can use a glossy varnish if you want a shiny look. When it comes to cutting, you have two options: leave a small margin of transparency sheet around the design to prevent the edges from crumbling, or cut right along the edge and then apply an extra layer of varnish around the edge to seal it well. Either way, make sure the whole piece is evenly coated for a smooth, lasting finish.


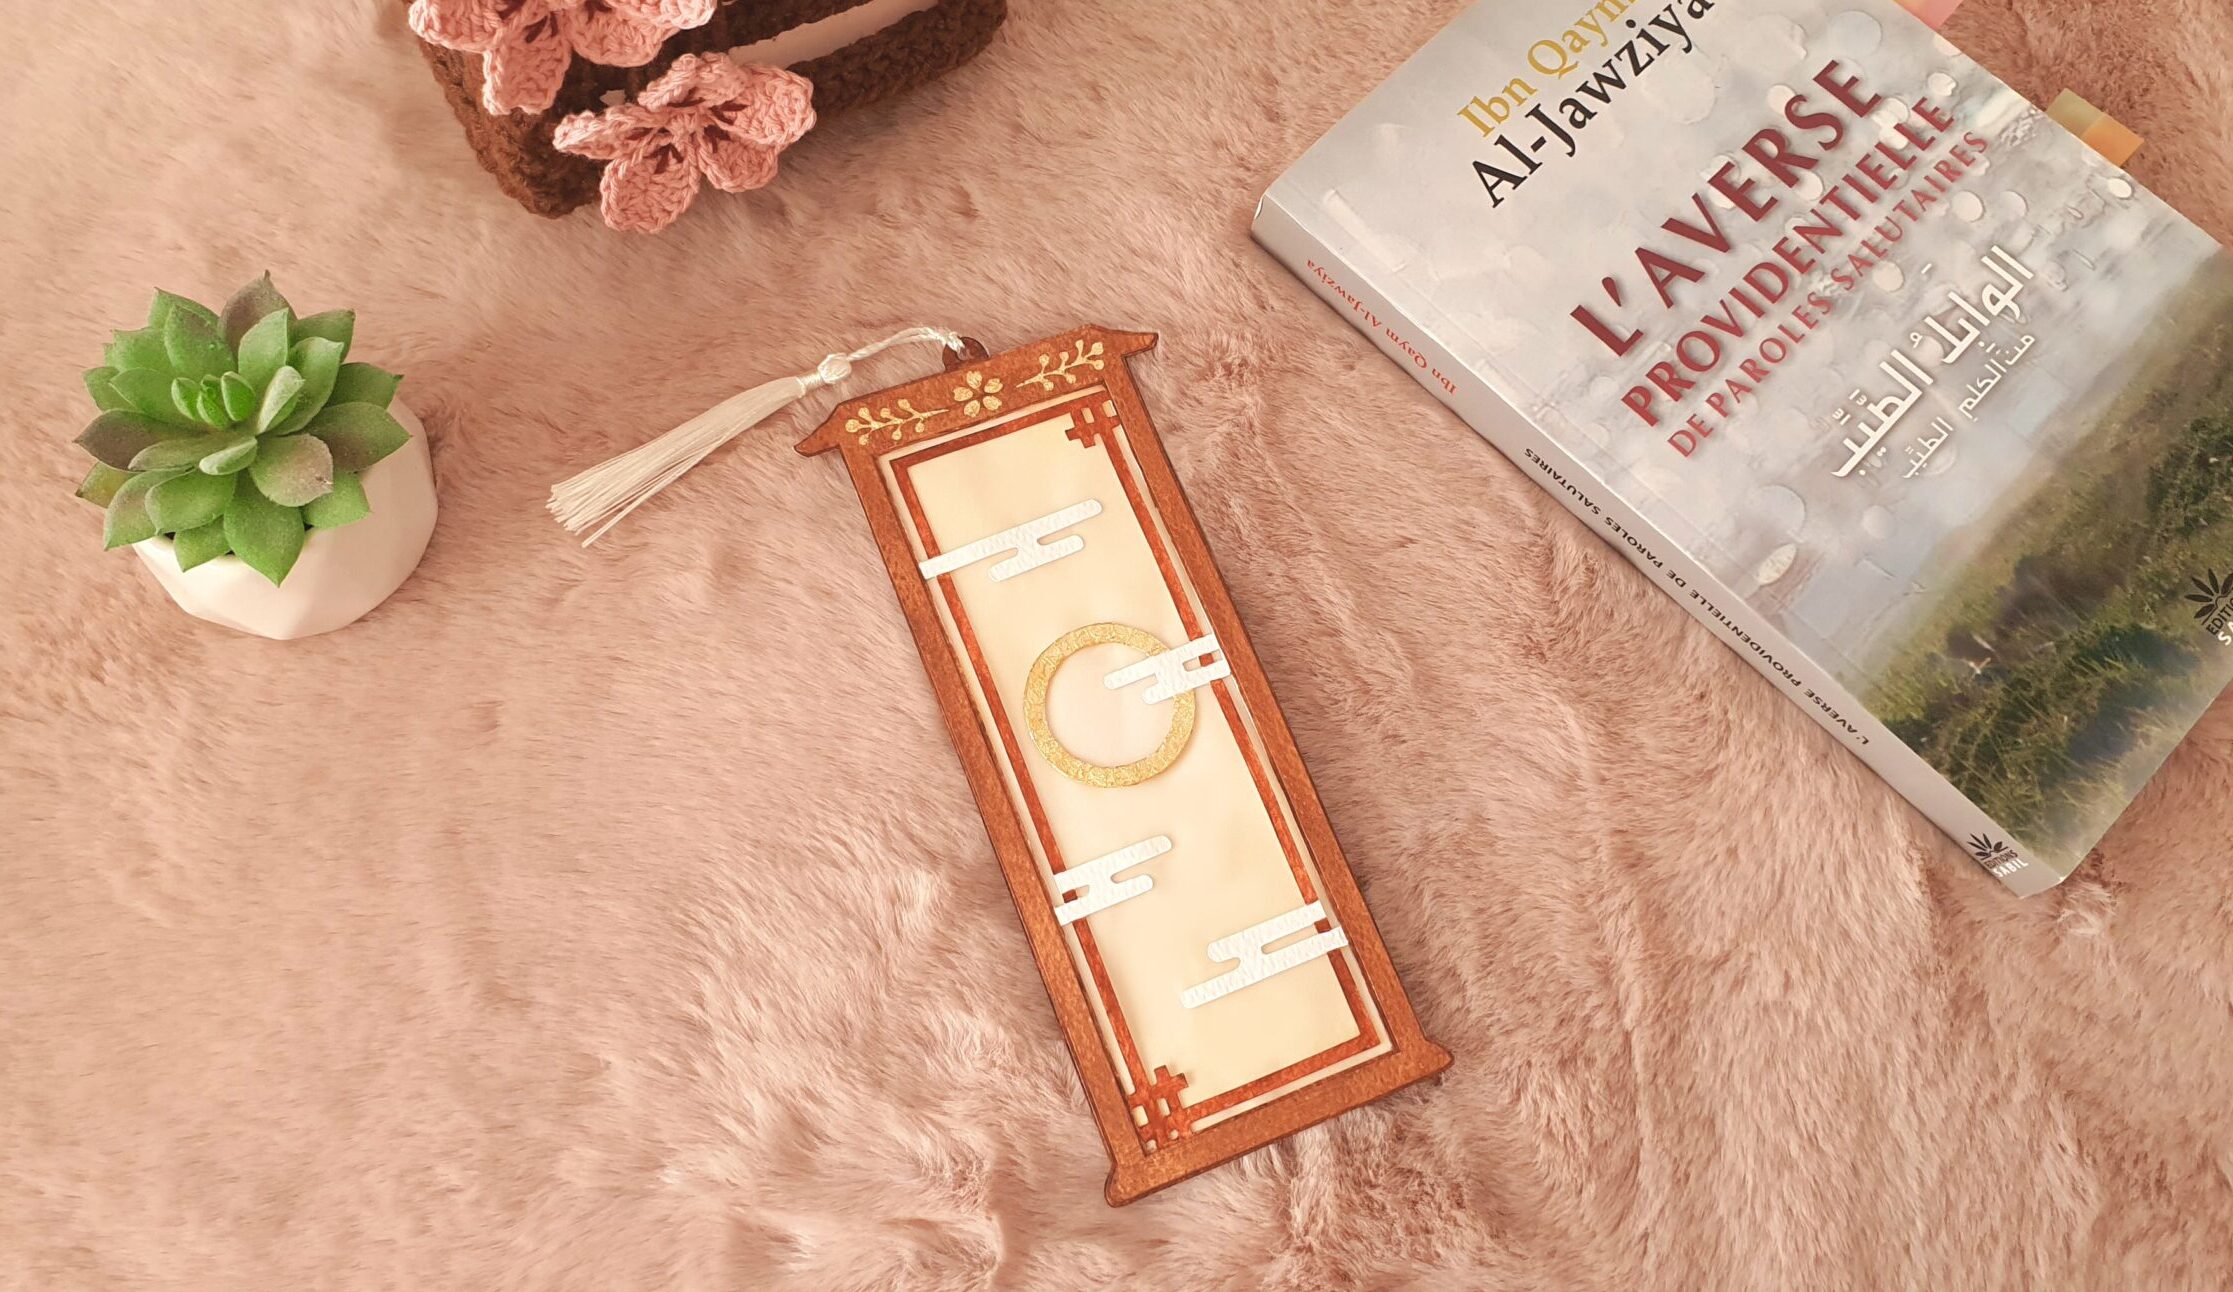
And there you have it; your DIY stained glass bookmark is complete! Slip it between the pages of your favorite book and admire this unique handmade gem, sure to spark a little envy.

If you’re craving more bookmark projects like this stained glass bookmark, you’ll find a collection of free crochet bookmark patterns on my site, along with papercraft bookmark ideas you can try right away. Feel free to browse around for your next craft project waiting just for you! To keep in touch, you can find me on Instagram, Pinterest, TikTok, and YouTube. Until next time, stay tuned for even more creative ideas!


0